
How to build the ultimate iPhone Control Center
When I posted a quick video of my new Control Center setup, the response was wild. People went absolutely bananas asking how to replicate it. It looks clean, sure. But it's also designed entirely around how you actually hold your phone.
The default iOS setup is fine, but this custom layout puts everything you need right where your thumb naturally rests. We're talking separated connectivity toggles, easier brightness controls, and shortcuts for things you use daily like ChatGPT and Focus modes.
I'm going to show you exactly how to build this grid step-by-step. We'll start with the essentials at the top and work our way down to the pro tools. Grab your iPhone and let's set this up.
Start with a fresh canvas
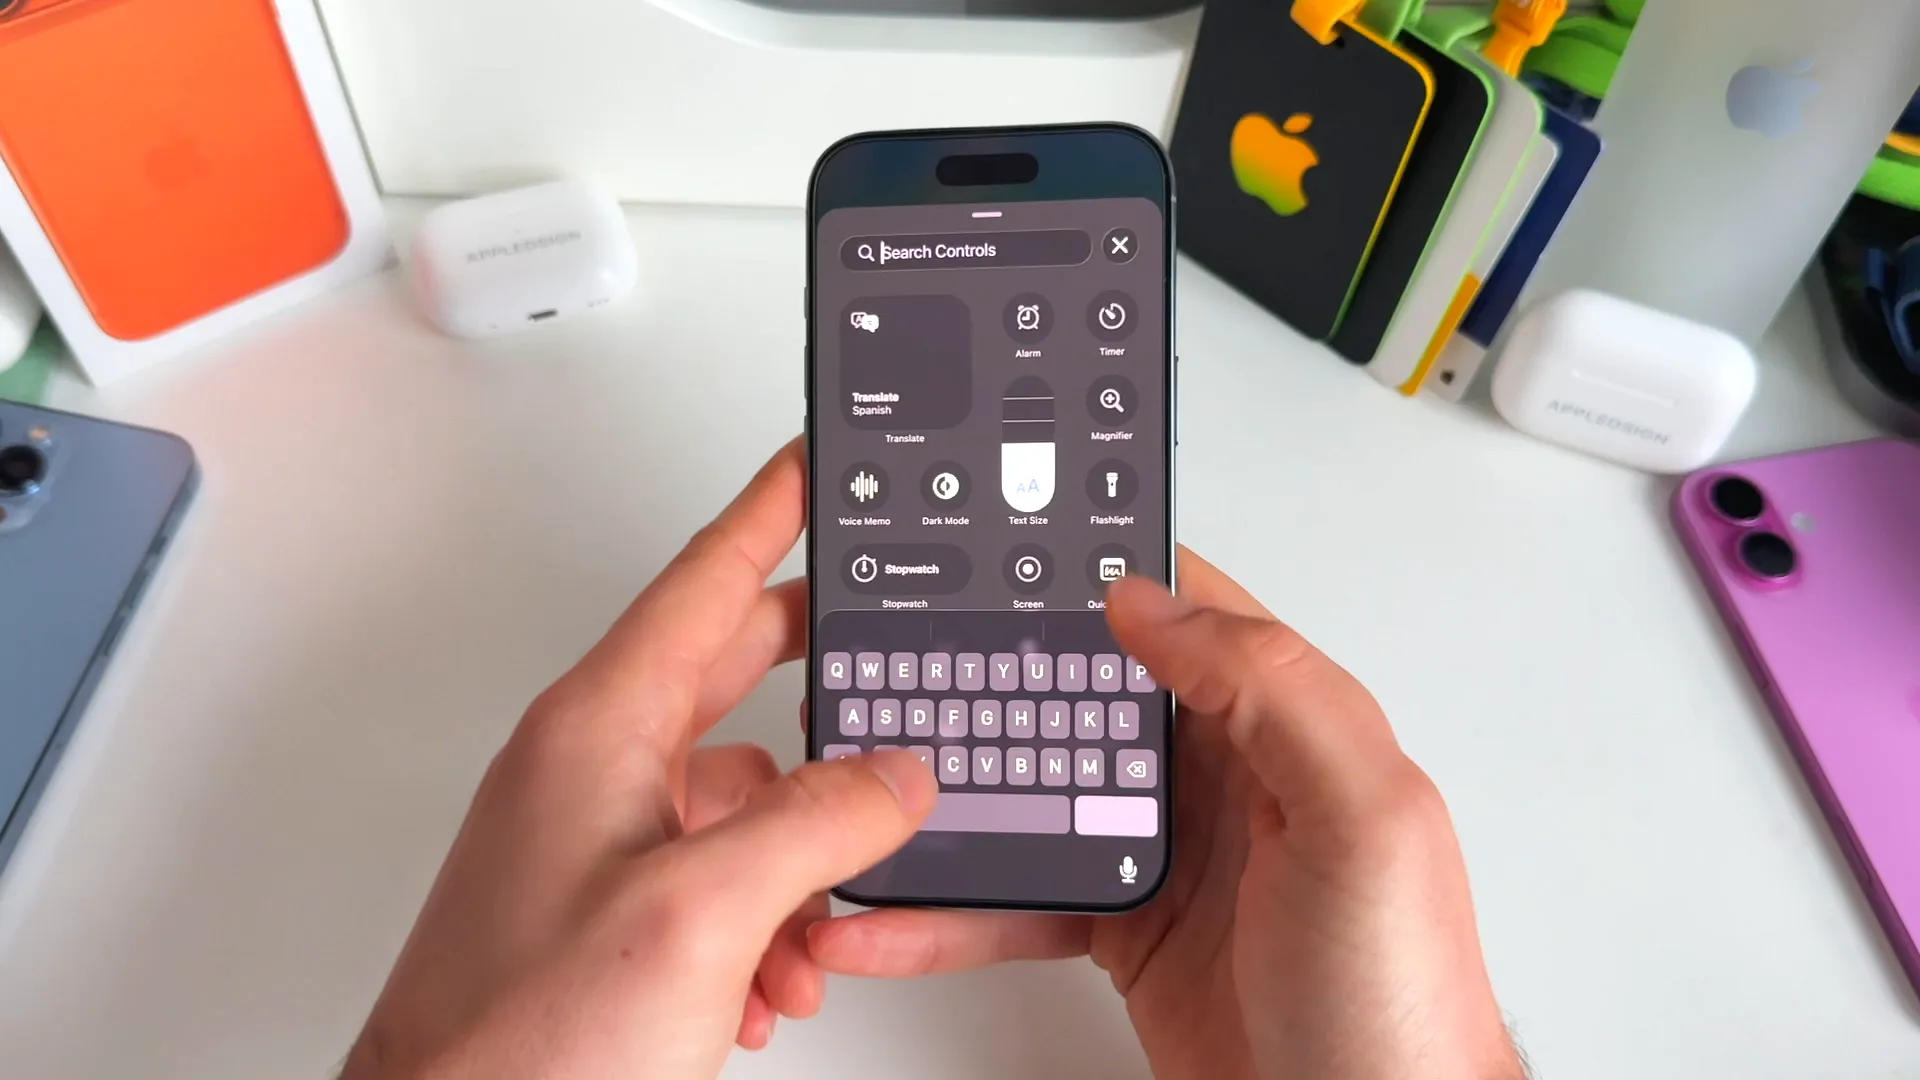
First things first, don't try to edit your existing messy page. It's easier to start fresh on a new page so you can drag things into the perfect spot without fighting the auto-arrange logic.
- Open Control Center and scroll down to a blank area at the bottom
- Tap the + icon in the top left corner to enter edit mode
- You'll see a blank grid. This is where we'll build the new layout
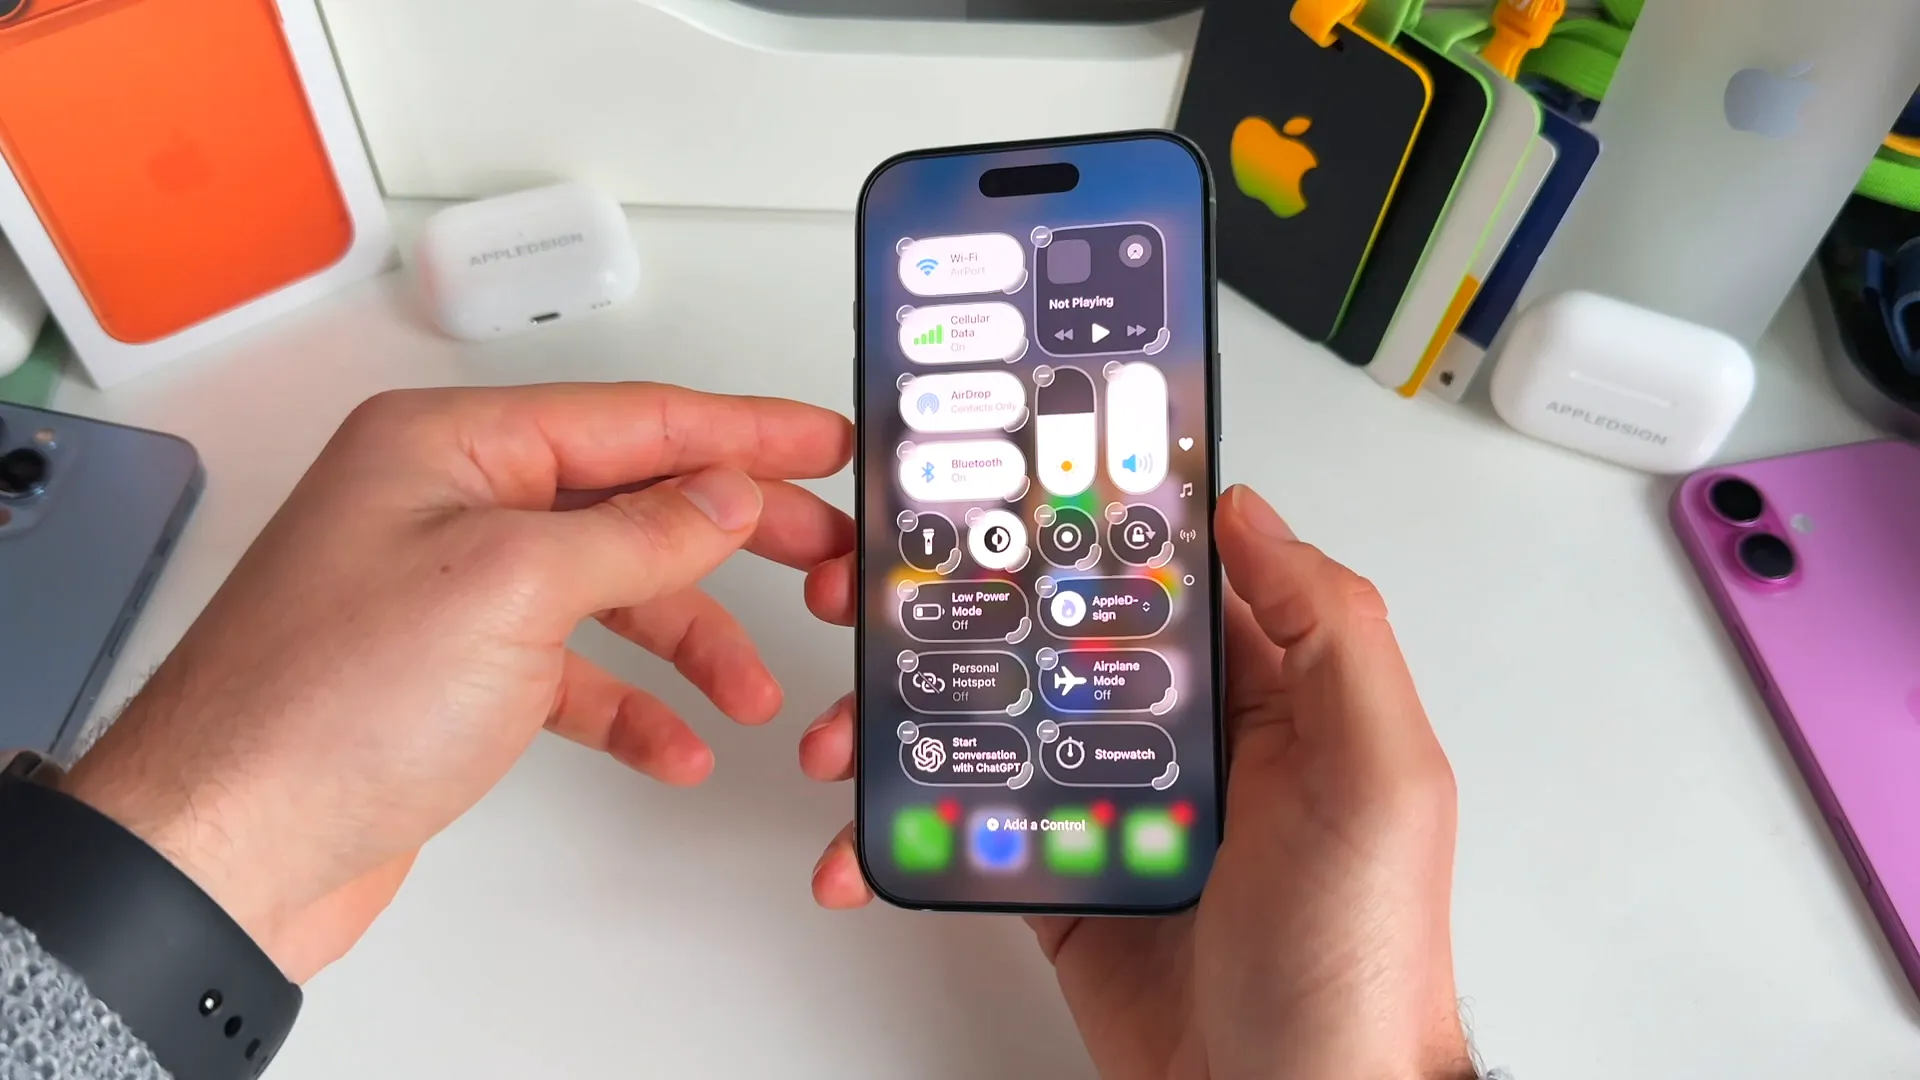
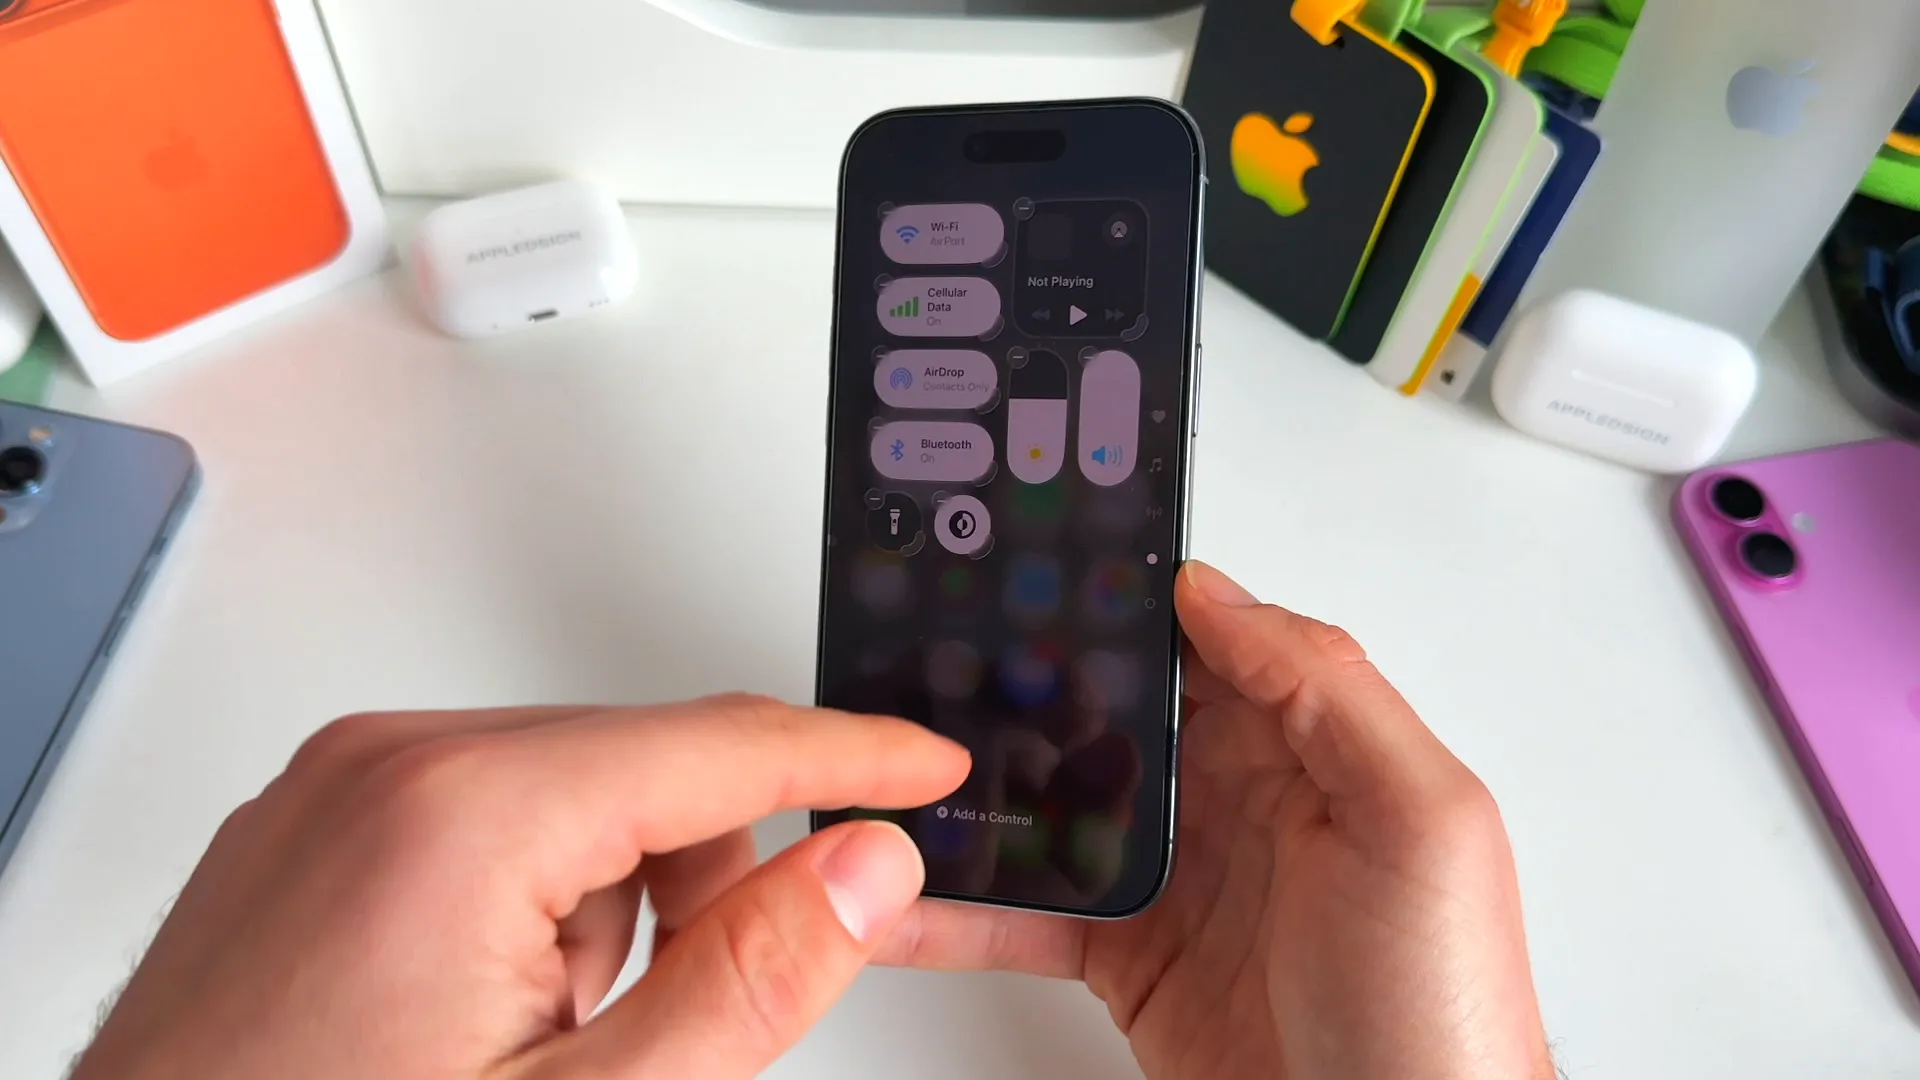
The connectivity stack
Instead of using the default connectivity square that hides options behind a tap, we're going to break them out. This makes them easier to hit and lets you see their status at a glance.
We are placing these on the left side, stacked vertically.
Setting up the toggles
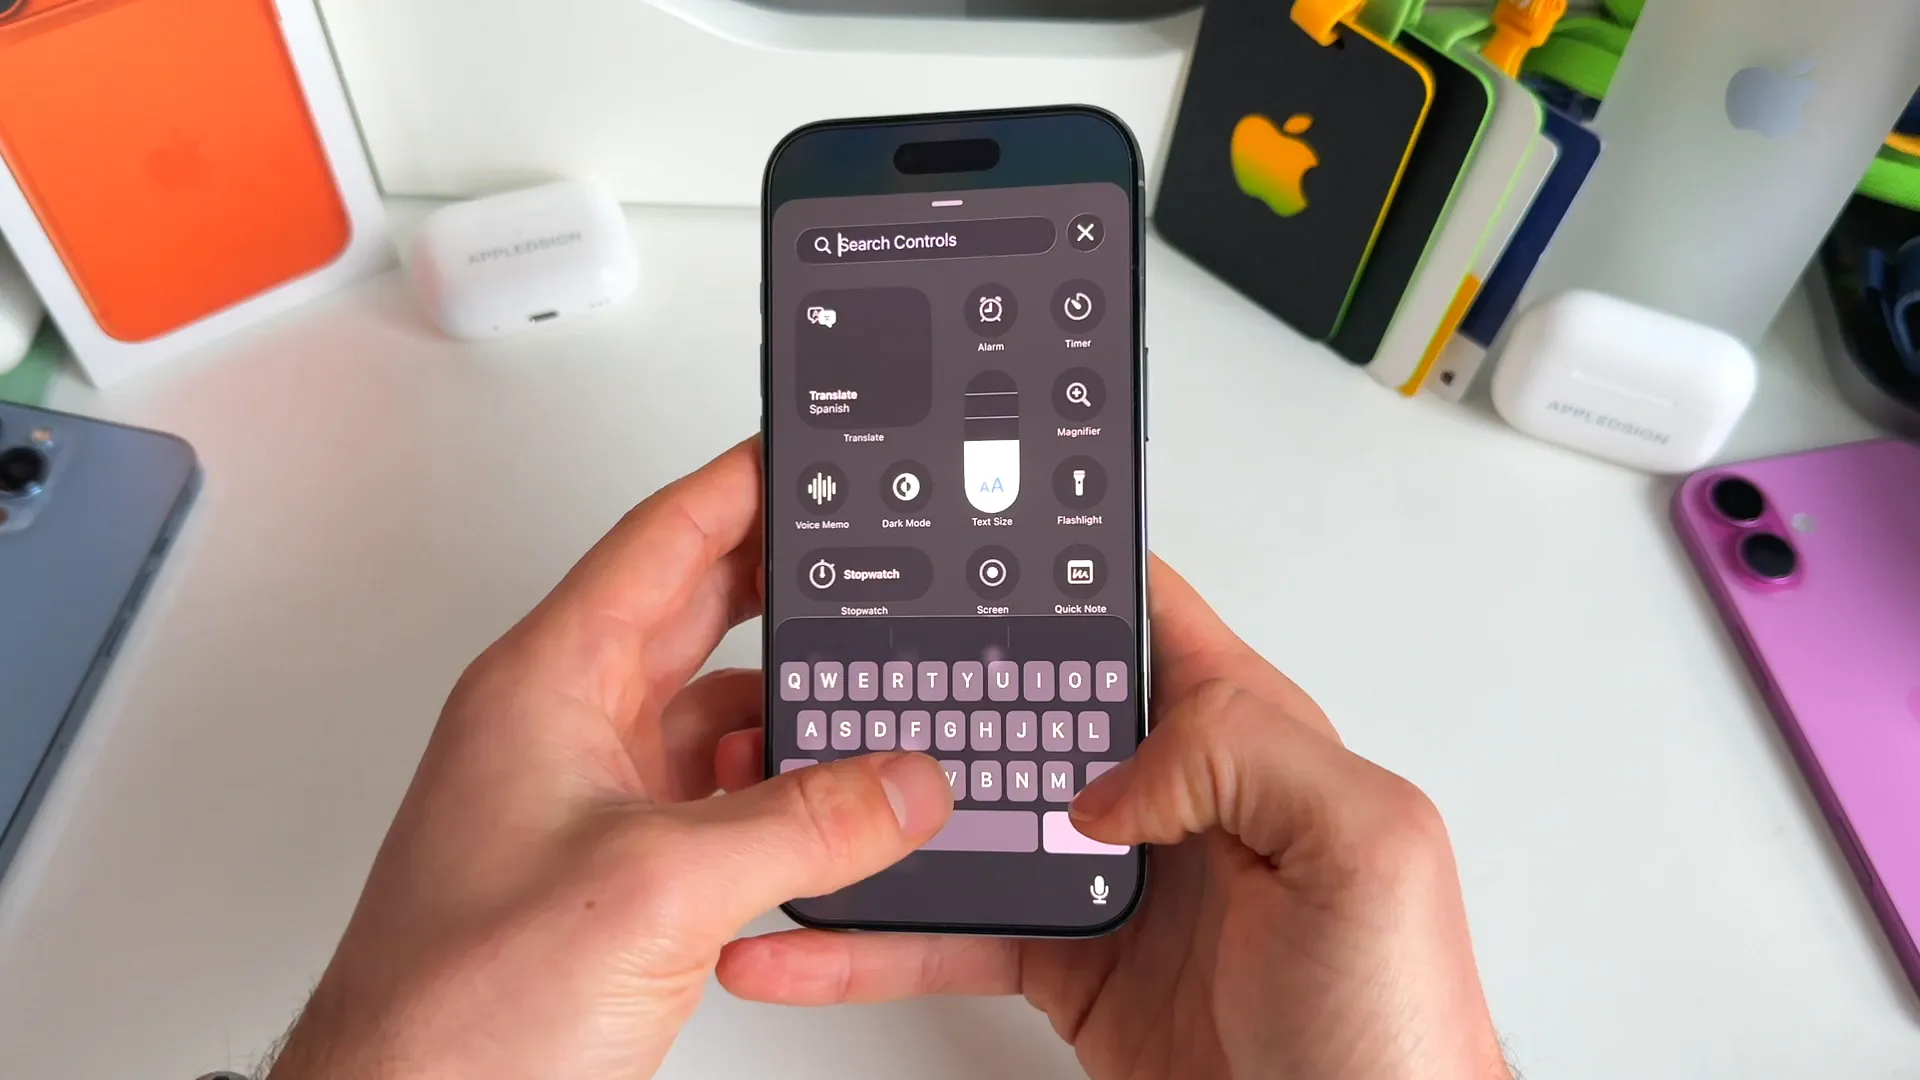
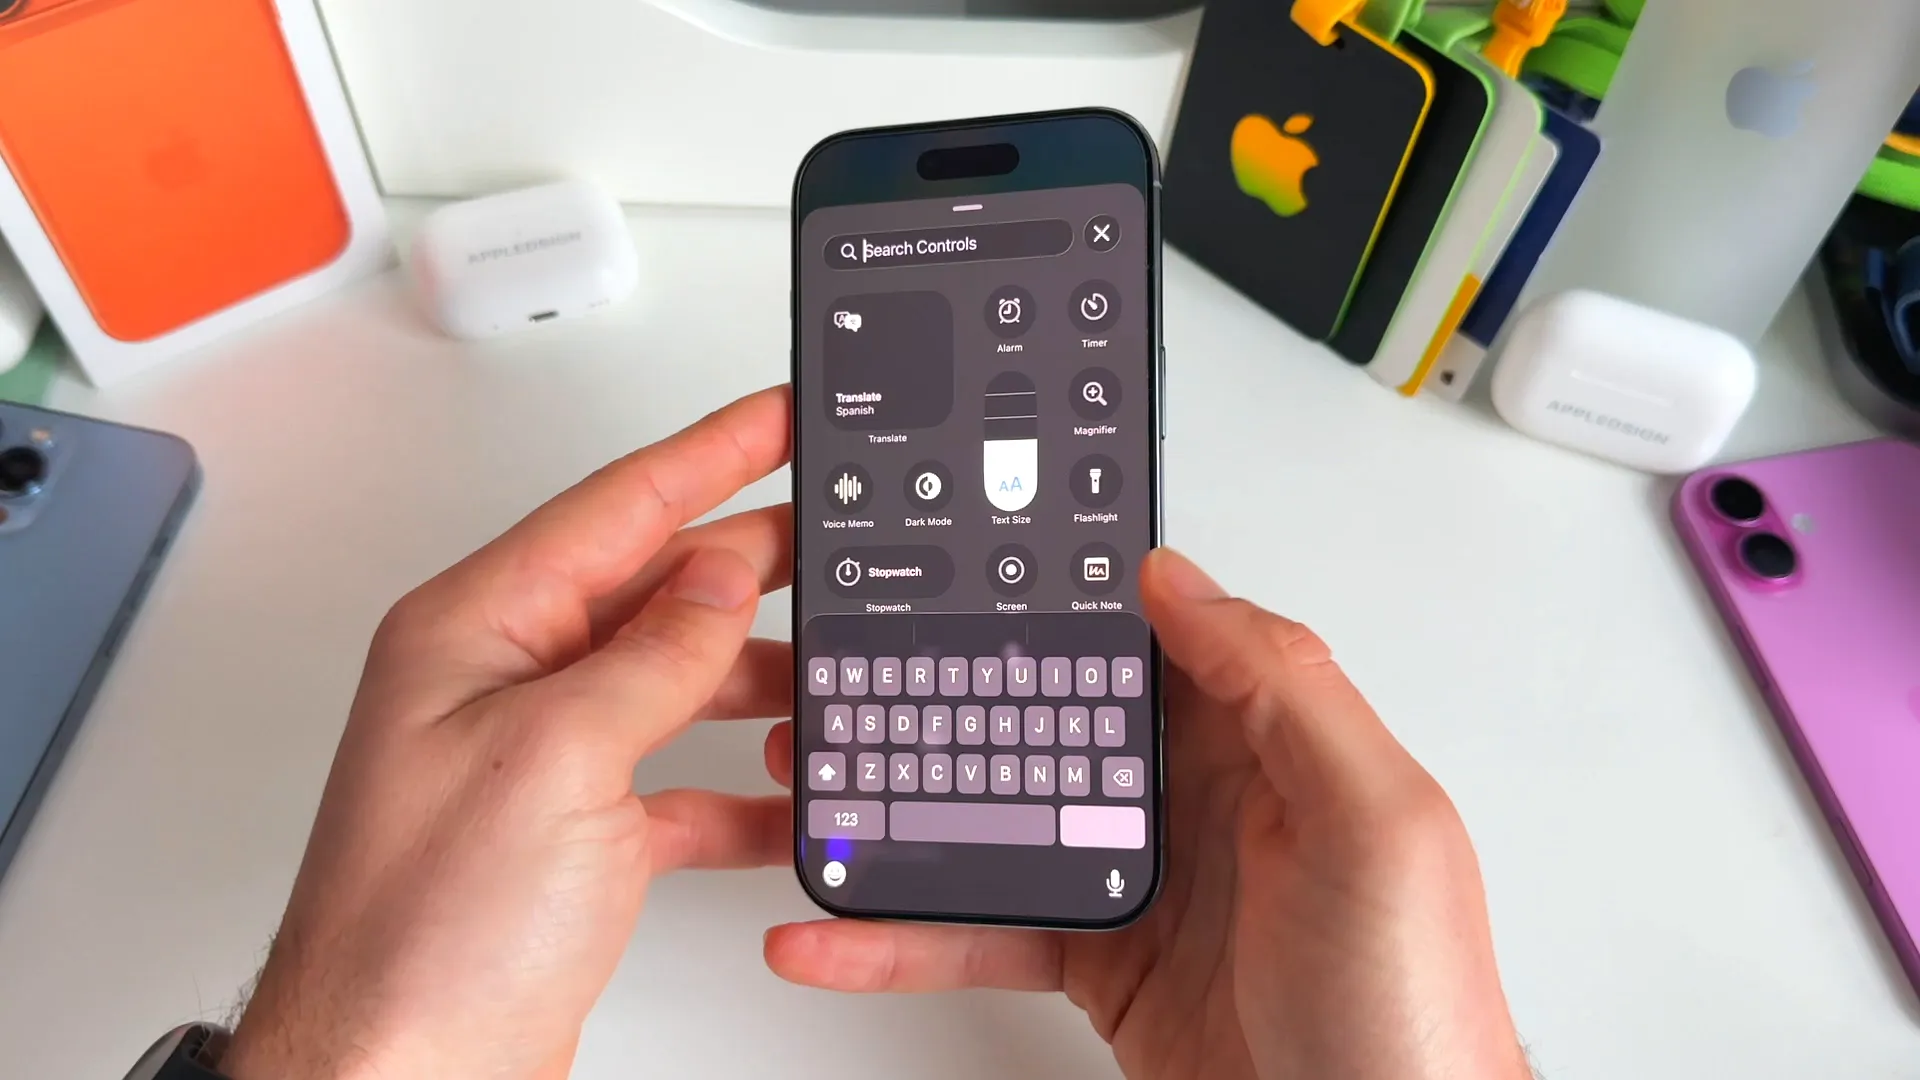
- Tap Add a Control at the bottom of the screen
- Search for Wi-Fi and tap it to add it to the grid
- Drag the handle on the bottom right of the icon to stretch it. Make it two tiles wide so you can read the network name
- Repeat this process for Cellular Data, AirDrop, and Bluetooth
- Stack them neatly on the left side of your screen
Pro tip: Expanding these tiles to be two spaces wide is key. It allows the text to display clearly, so you know exactly which Wi-Fi network or Bluetooth device you're connected to without opening Settings.
Media and sliders
Now for the right side. This is your primary thumb zone if you're right-handed. We want your music and volume controls here for easy access.
- Add the Now Playing widget. Place it in the top right corner
- Resize it to take up a nice 2x2 square block
- Below that, add Brightness and Volume sliders
- Keep these vertical. They fit perfectly in the gap next to your connectivity stack
Essential utilities
Underneath the volume sliders, we have a row of four single-tap buttons. These are the utilities you need in a pinch. No resizing here, just standard 1x1 icons.
- Flashlight (Torch) - Essential for obvious reasons
- Dark Mode - A quick toggle to switch appearance
- Screen Recording - Capture content quickly
- Orientation Lock - Crucial for watching videos in bed
The custom function row
This bottom section is where you can get creative. I've set this up for my specific workflow involving travel and work, but you can swap these out for whatever fits your life.
Here is the layout that I recommend for maximum productivity:
- ChatGPT: Add the voice conversation shortcut. It's awesome to have AI accessible with one tap
- Low Power Mode: Keep this near the bottom left for quick access when the battery runs red
- Focus: A dedicated button to toggle Do Not Disturb or Work modes
- Personal Hotspot: If you work from a laptop often, this is a lifesaver to have separated out
- Airplane Mode: Great for frequent travelers
- Stopwatch: Always handy to have nearby
Once you've dropped these in, you'll notice everything is within easy reach. The toggles you hit most often—like ChatGPT or Hotspot—are right at the bottom.
Make it yours
That's the setup. It covers connectivity, media, utilities, and productivity in one clean view. But the beauty of the new Control Center is flexibility. If you don't use Dark Mode, swap it for a Calculator. If you don't need Hotspot, maybe throw in a shortcut to your favorite app.
Give this layout a shot for a few days. You might find that having those connectivity toggles expanded and separated changes how you use your phone entirely.
Last updated: Jun 20, 2026