
How to transfer your data to a new iPhone
Upgrade day is the best day. If you just unboxed a new iPhone, you'll want to move your life over to it as smoothly as possible. This guide walks you through the entire process of transferring your data directly from your old iPhone to your new one. We'll also cover how to safely factory reset your old device so it's ready to sell or pass on. Let's dive in.
How to completely erase your old iPhone (Optional)
If you are keeping your old phone as a backup, you can skip this section. But if you're ready to wipe it completely, here is how to do it safely. Make sure you've backed up your data or already transferred it before doing this.
- Open Settings and tap General.
- Scroll all the way to the bottom and tap Transfer or Reset iPhone.
- Tap Erase All Content and Settings, then hit Continue.
- You'll be asked if you want to upload your data to iCloud for a backup. You can let this run, or just skip it if your data is already safe.
- Enter your Apple ID password when prompted.
- Finally, tap Turn Off and erase the iPhone.
Your iPhone will now wipe itself and reboot to the default "Hello" screen. It's now safe to sell or give away.
Step 1: Connect your two iPhones
Now for the main event. Grab both iPhones and make sure they are sitting right next to each other.
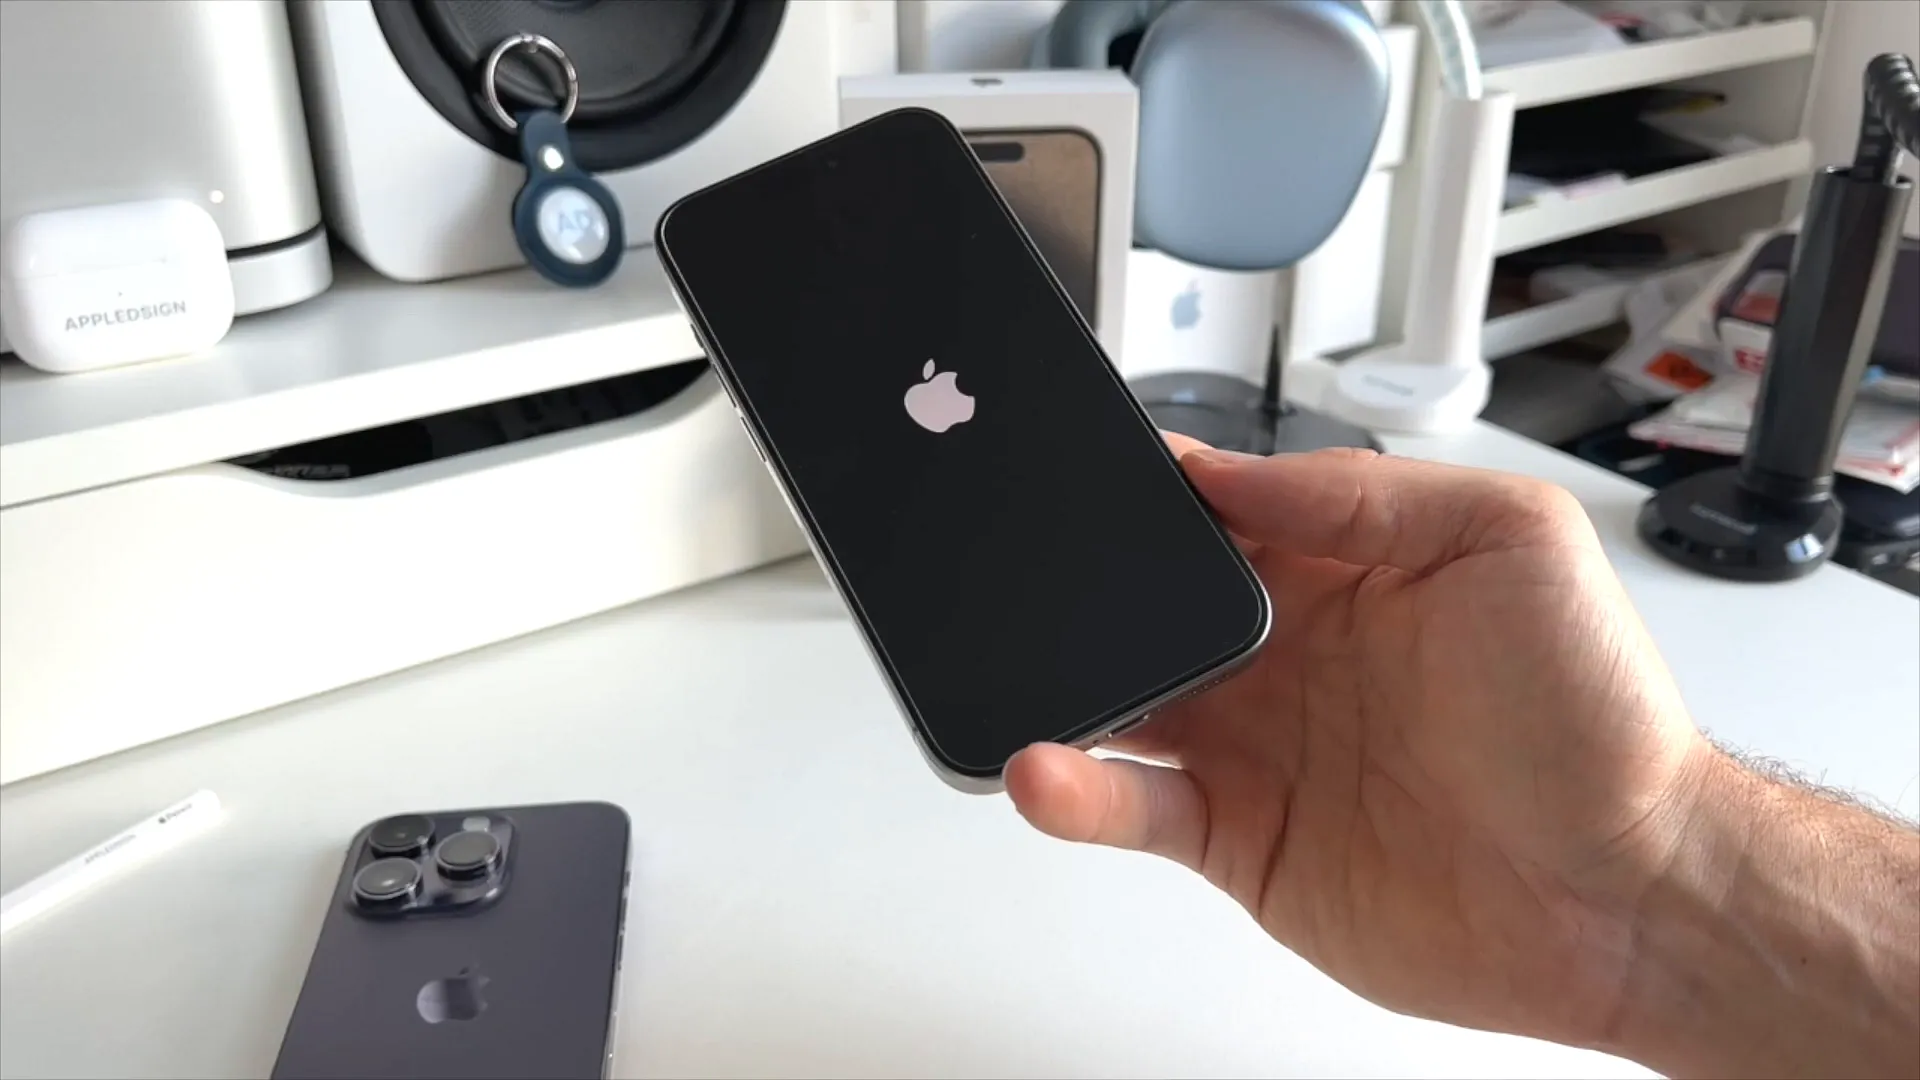
- On your new iPhone, swipe up on the "Hello" screen.
- Select your country or region, and choose your preferred appearance.
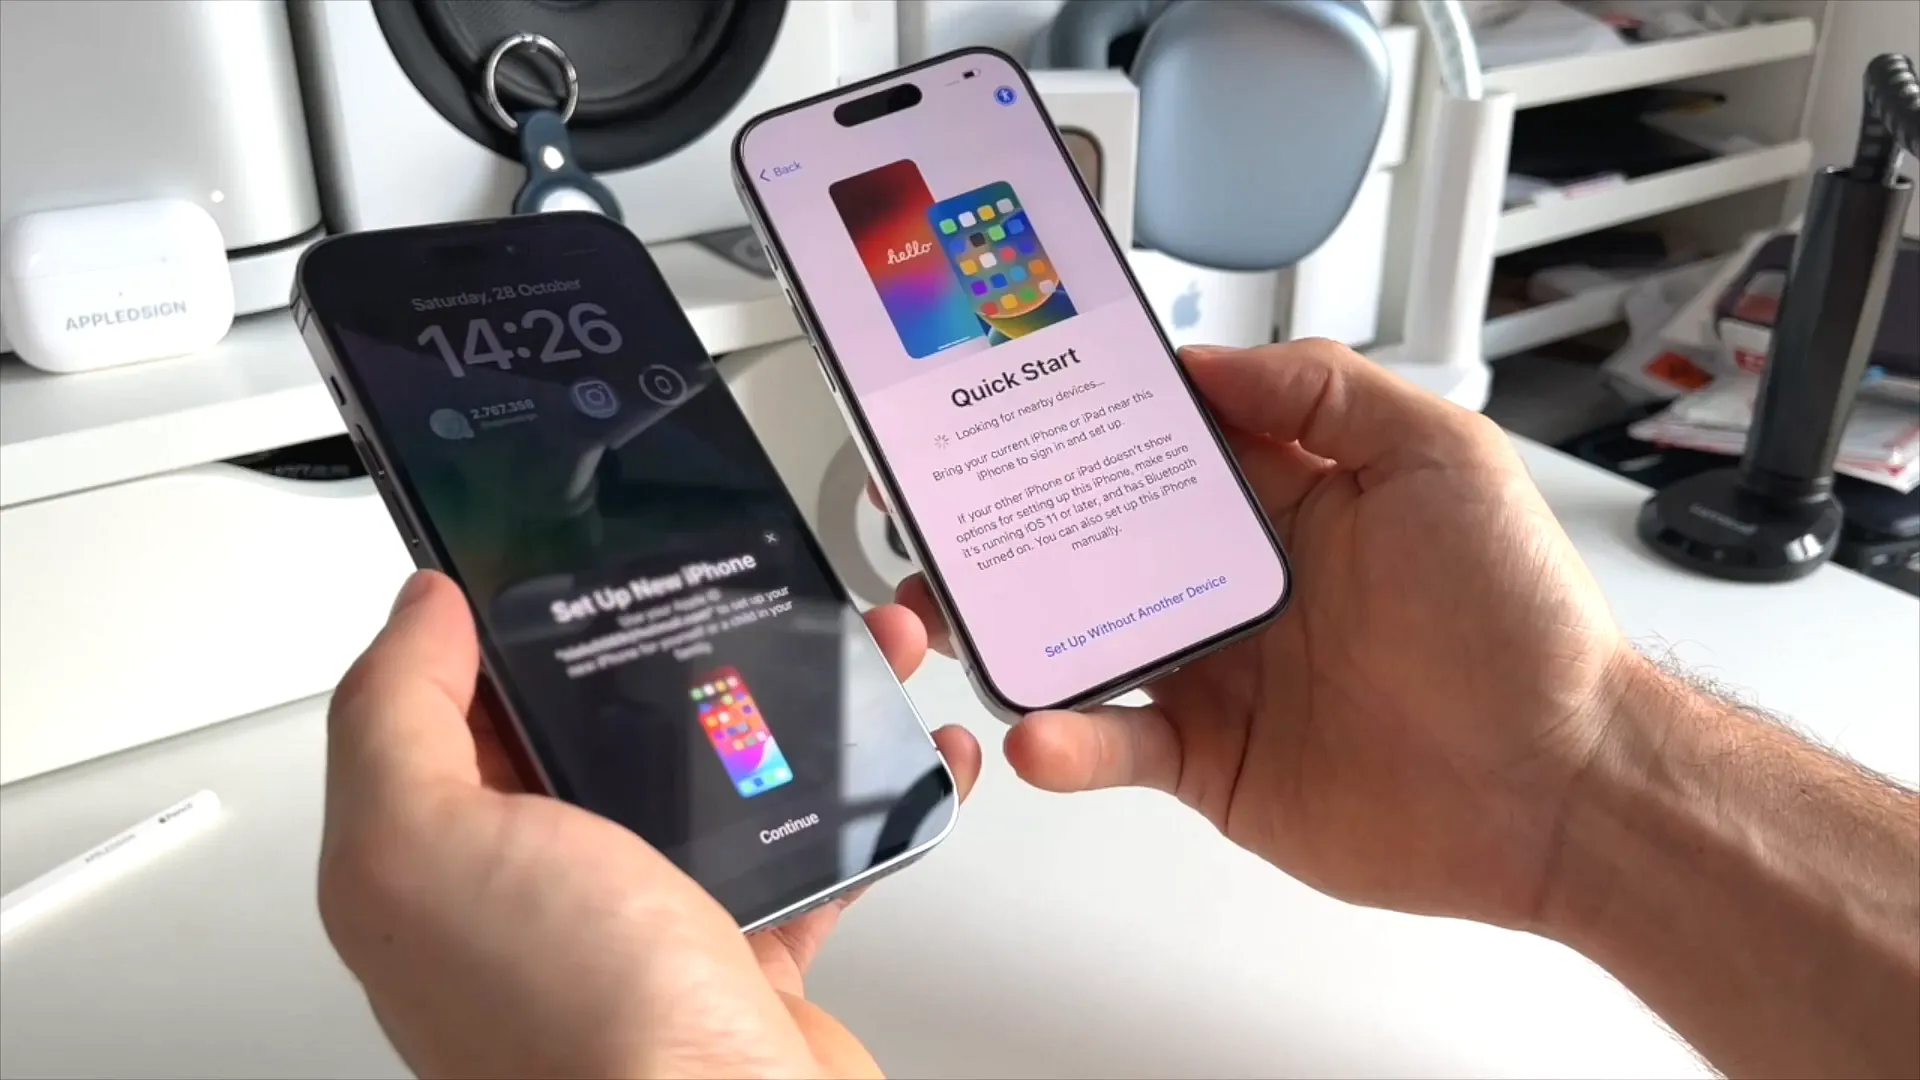
- As soon as you do this, a Quick Start prompt will pop up automatically on your old iPhone.
- Tap Continue on the old iPhone.
Step 2: Authenticate and configure Face ID
Your new iPhone will display a swirling blue particle animation on the screen. This is how the two devices securely verify each other.
- Pick up your old iPhone and use its camera to scan the blue animation on the new phone's screen.
- Choose who you're setting the phone up for (e.g., select Set Up for Myself).
- Keep both phones close together. On the new iPhone, you'll see a Data & Privacy screen. Tap Continue.
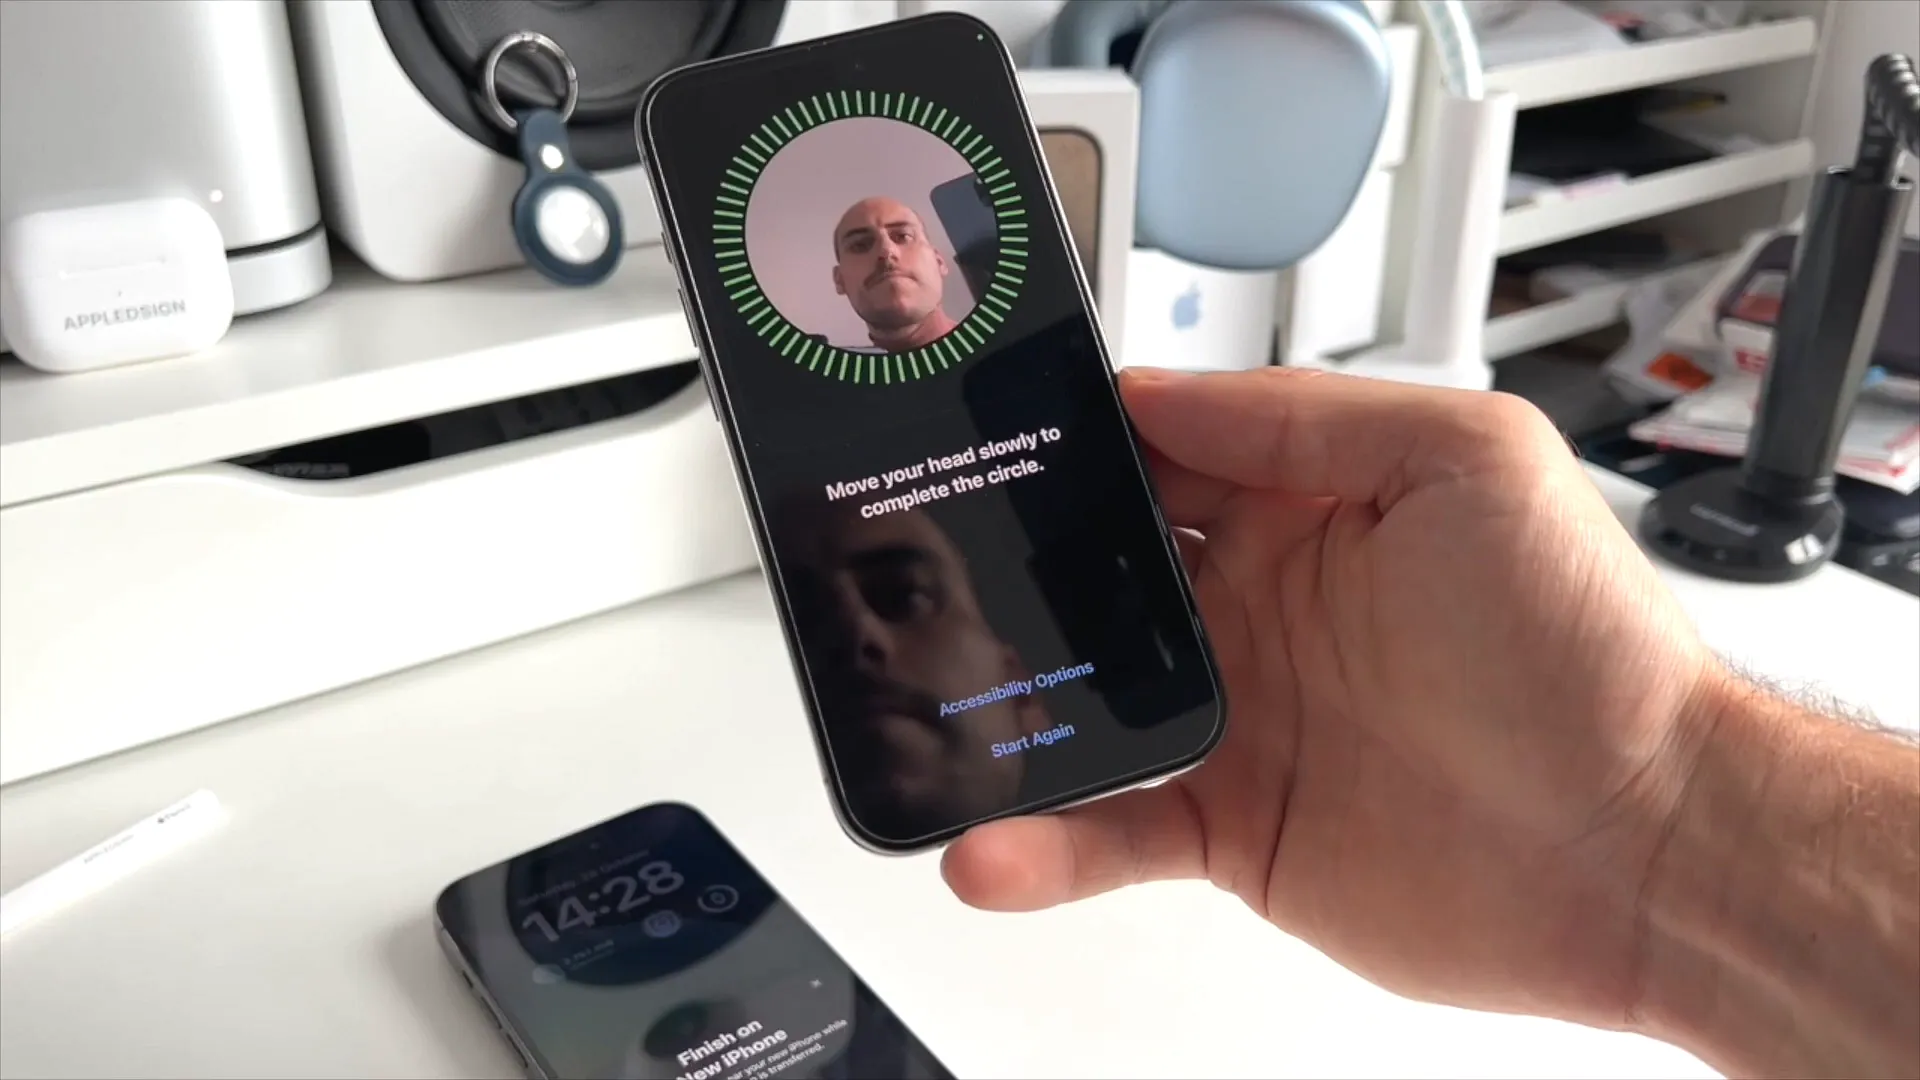
- Next, you'll be prompted to set up Face ID. Tap Continue, then Get Started, and slowly rotate your head to complete the circle and scan your face.
Pro tip: You can set up Face ID to work while wearing a mask right after this step, but you can also just skip it and configure it later in your settings.
Step 3: Start the data transfer
Now it's time to actually move your files, photos, and apps over.
- On the Transfer Your Data screen, select Transfer from iPhone.
- Sign in to your Apple ID if prompted, and accept the Terms and Conditions.
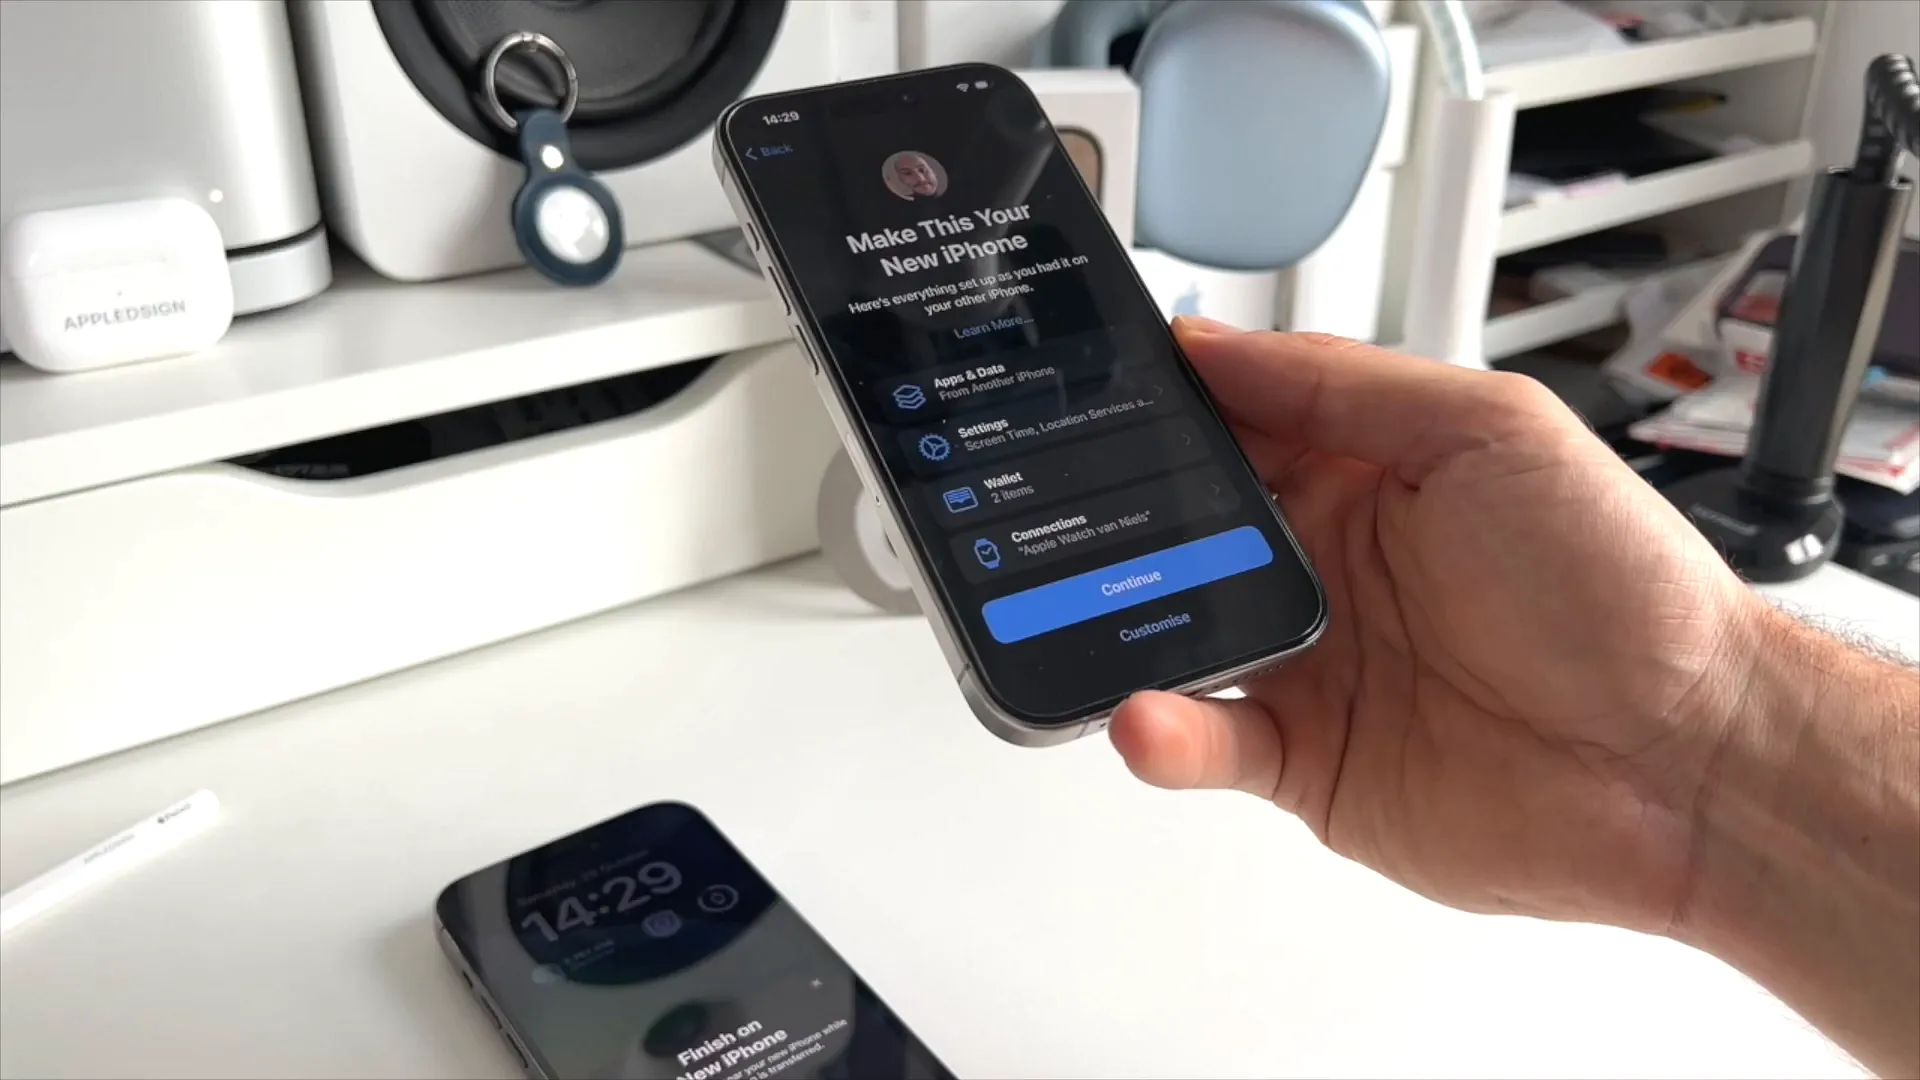
- You'll see a "Make This Your New iPhone" summary screen. This shows you exactly what apps, data, and settings will move over. Tap Continue.
- Tap Continue on the "Update Your iPhone Automatically" screen.
- We highly recommend tapping Enable Location Services on the next prompt so your maps and weather apps work right out of the gate.
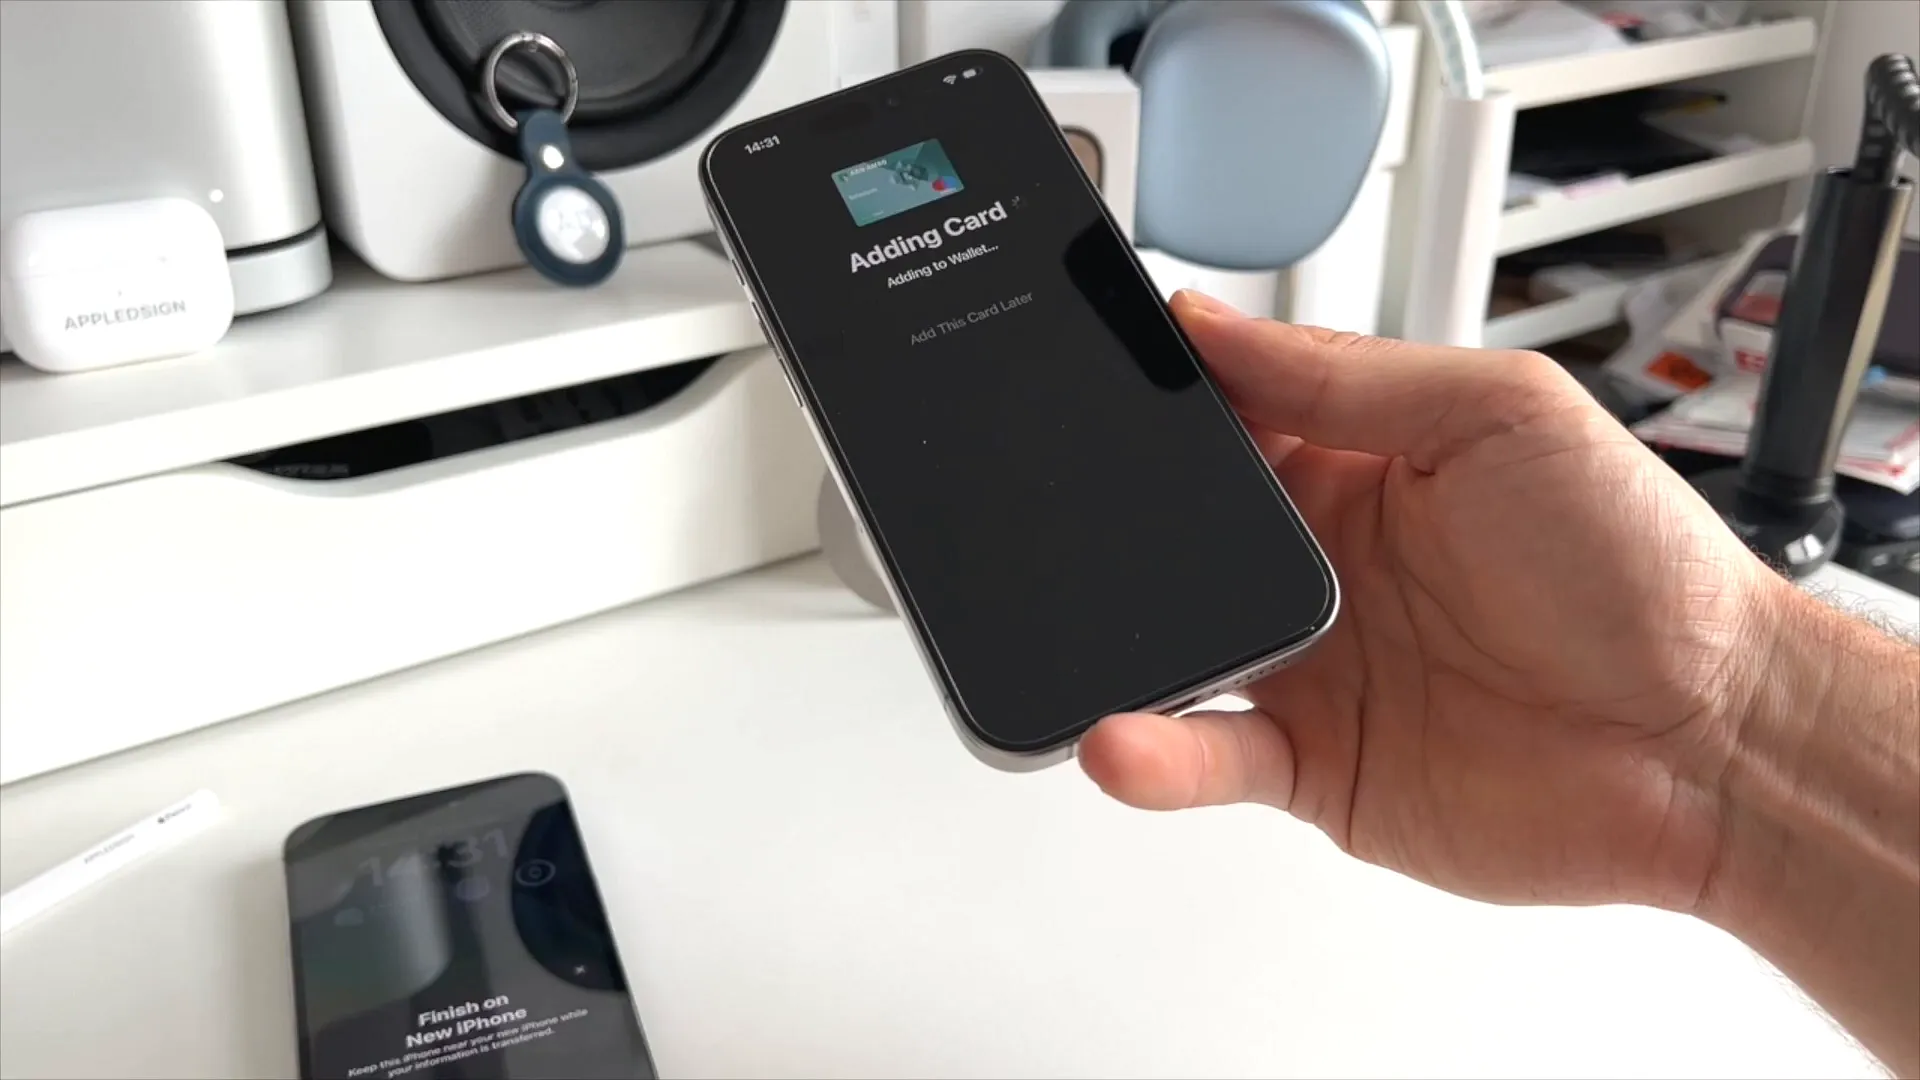
Step 4: Move your Apple Pay cards
If you use Apple Pay, your old cards will carry over, but you still need to verify them with your bank for security reasons.
- You'll see an "Adding Card" screen. Follow the prompts to verify your cards. This usually just involves entering your CVV code.
- Next, choose whether you want to share App Analytics with Apple.
- Tap Continue on the Emergency SOS explainer screen.
Step 5: Wait for the transfer to finish
The full data transfer will now begin. This can take anywhere from a few minutes to over an hour, depending entirely on how many photos and files you have stored on your old device.
Leave both phones right next to each other and go grab a coffee. Do not interrupt the process or move the phones far apart.

You're all set
Once the progress bar finishes, your new iPhone will restart and display a "Transfer Complete" message on the screen.
Swipe up, enter your passcode, and tap Continue on the "Restore Completed" screen. You might have to wait a little while for all your apps to finish downloading from the App Store in the background, but your new iPhone is now fully set up and ready to use.
Last updated: Jun 20, 2026