
Photographing the Solar Eclipse? How to Protect Your iPhone Camera from Damage
Witnessing a total solar eclipse is a once-in-a-lifetime experience. It is completely understandable that you want to capture the whole event on your iPhone. But before you point your camera up at the sky, you need to take a few precautions. Pointing your phone directly at the sun can permanently damage your device.
If you are planning to shoot the eclipse, this guide will walk you through exactly how to do it safely. By the end, you will know how to protect your camera and still get incredible photos of the event.
What you'll need
Before the eclipse starts, make sure you have the right gear ready to go. You do not need a professional DSLR to get great shots, but you do need a few essential accessories.
- Your iPhone
- A dedicated solar filter for your phone camera
- A microfiber cleaning cloth
- A pair of certified solar eclipse glasses
Step 1: Attach your solar filter
You should never point your iPhone camera directly at the sun without a proper solar filter. The bright, intense sunlight acts like a magnifying glass. It creates a hot focal point that can easily burn and permanently damage your iPhone's internal camera sensor.
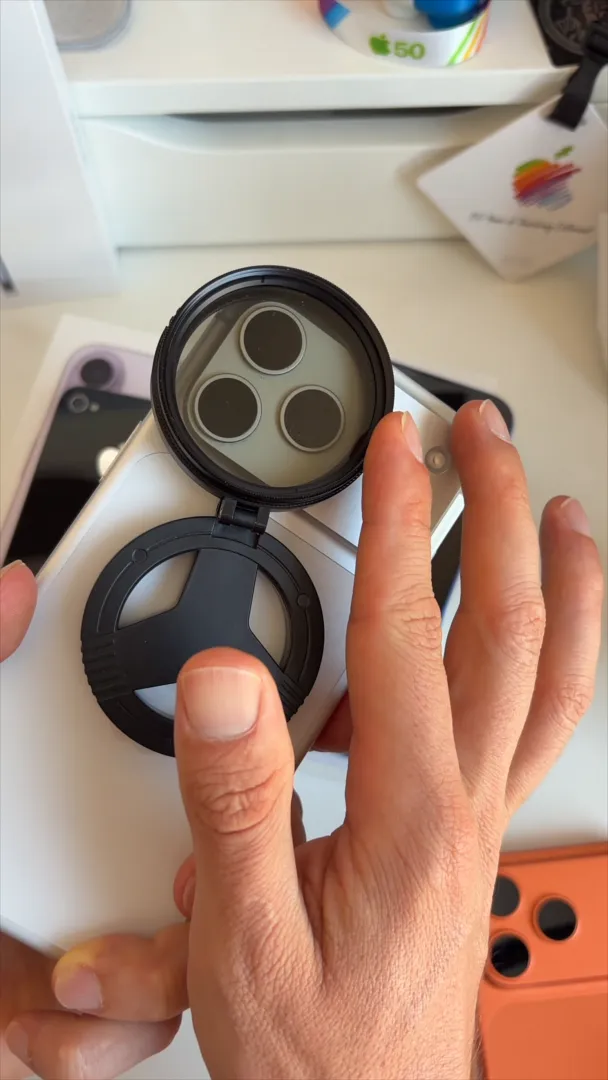
- Take your dedicated solar filter and clip it securely over your iPhone camera lenses.
- Ensure the filter covers all the lenses completely before the eclipse begins.
- Keep this filter on during all the partial phases of the eclipse as the moon slowly crosses the sun.
Step 2: Remove the filter during totality
There is exactly one moment during a total solar eclipse when it is safe to expose your camera to the sky. That moment is totality.
Totality happens when the sun is completely covered by the moon. The sky goes dark, and only the soft outer atmosphere of the sun is visible.
- Wait until the sun is 100% blocked by the moon.
- Safely remove the clip-on solar filter from your iPhone.
- Open your camera app and freely capture the incredible spectacle.
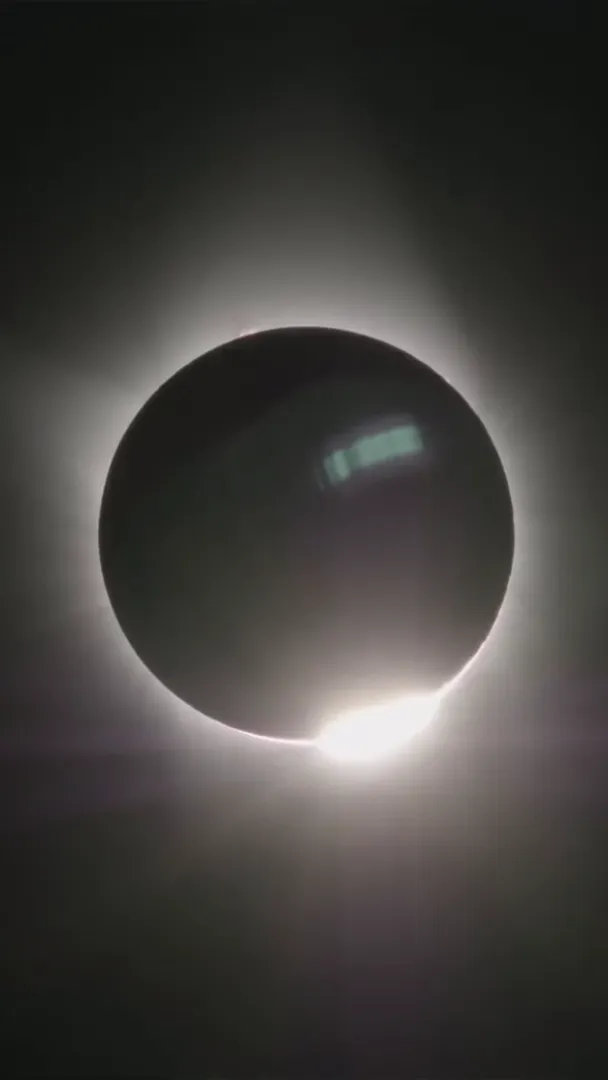
Once totality ends and the bright edge of the sun begins to peek out again, you must immediately put the solar filter back on your phone.
A quick pro tip for better shots
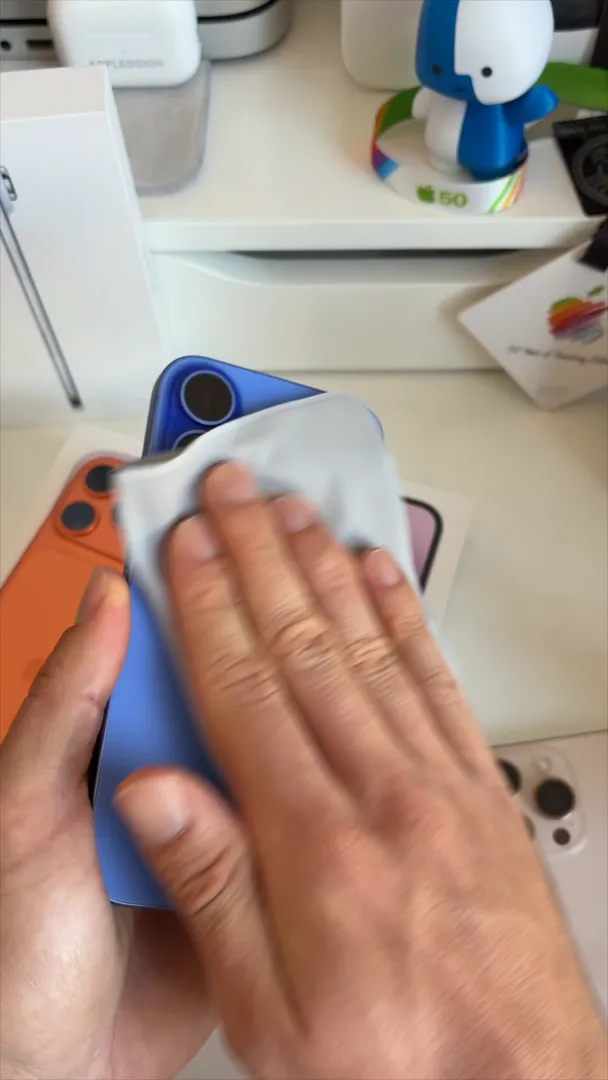
Before you even step outside, take a moment to clean your iPhone's camera lenses. Dust, fingerprints, and smudges will catch the harsh light and create terrible glare in your final images. Grab a clean microfiber cloth and give the back of your phone a thorough wipe down so your shots are as sharp as possible.
Don't forget your own eyes
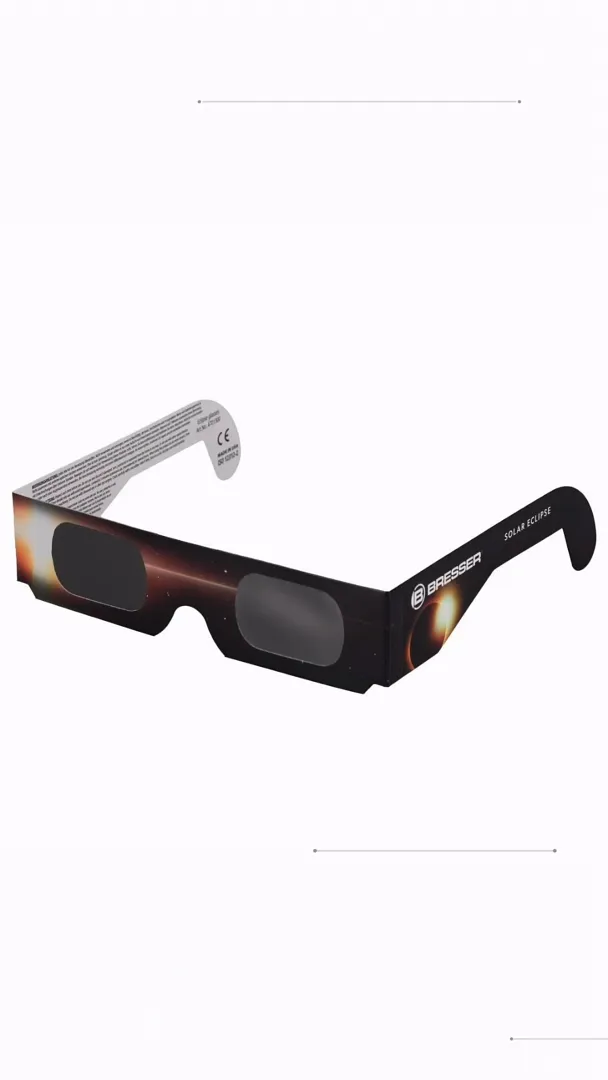
Protecting your iPhone is important, but protecting your vision is absolutely critical. You must always use your cardboard eclipse glasses anytime you are looking up at the sky. Just like your camera sensor, your eyes can suffer severe damage from looking directly at the intense sunlight.
Keep your glasses on your face while you are lining up your shots.
Ready to shoot
You are all set. Grab your solar filter, pack your eclipse glasses, and give your camera lenses a quick polish. If you follow these simple steps, you will walk away with amazing memories of the eclipse. Best of all, your iPhone will survive to shoot another day.
Last updated: Oct 14, 2026