
How to set your favorite song as your iPhone ringtone
Tired of the default iPhone ringtones? You can easily turn any of your favorite songs into a custom ringtone in just a few quick steps. Best of all, you don't need a computer. You can handle the entire process right on your phone. Let's walk through exactly how to set this up.
What you'll need
Before we get started, make sure you have two things ready to go:
- The free GarageBand app downloaded from the App Store.
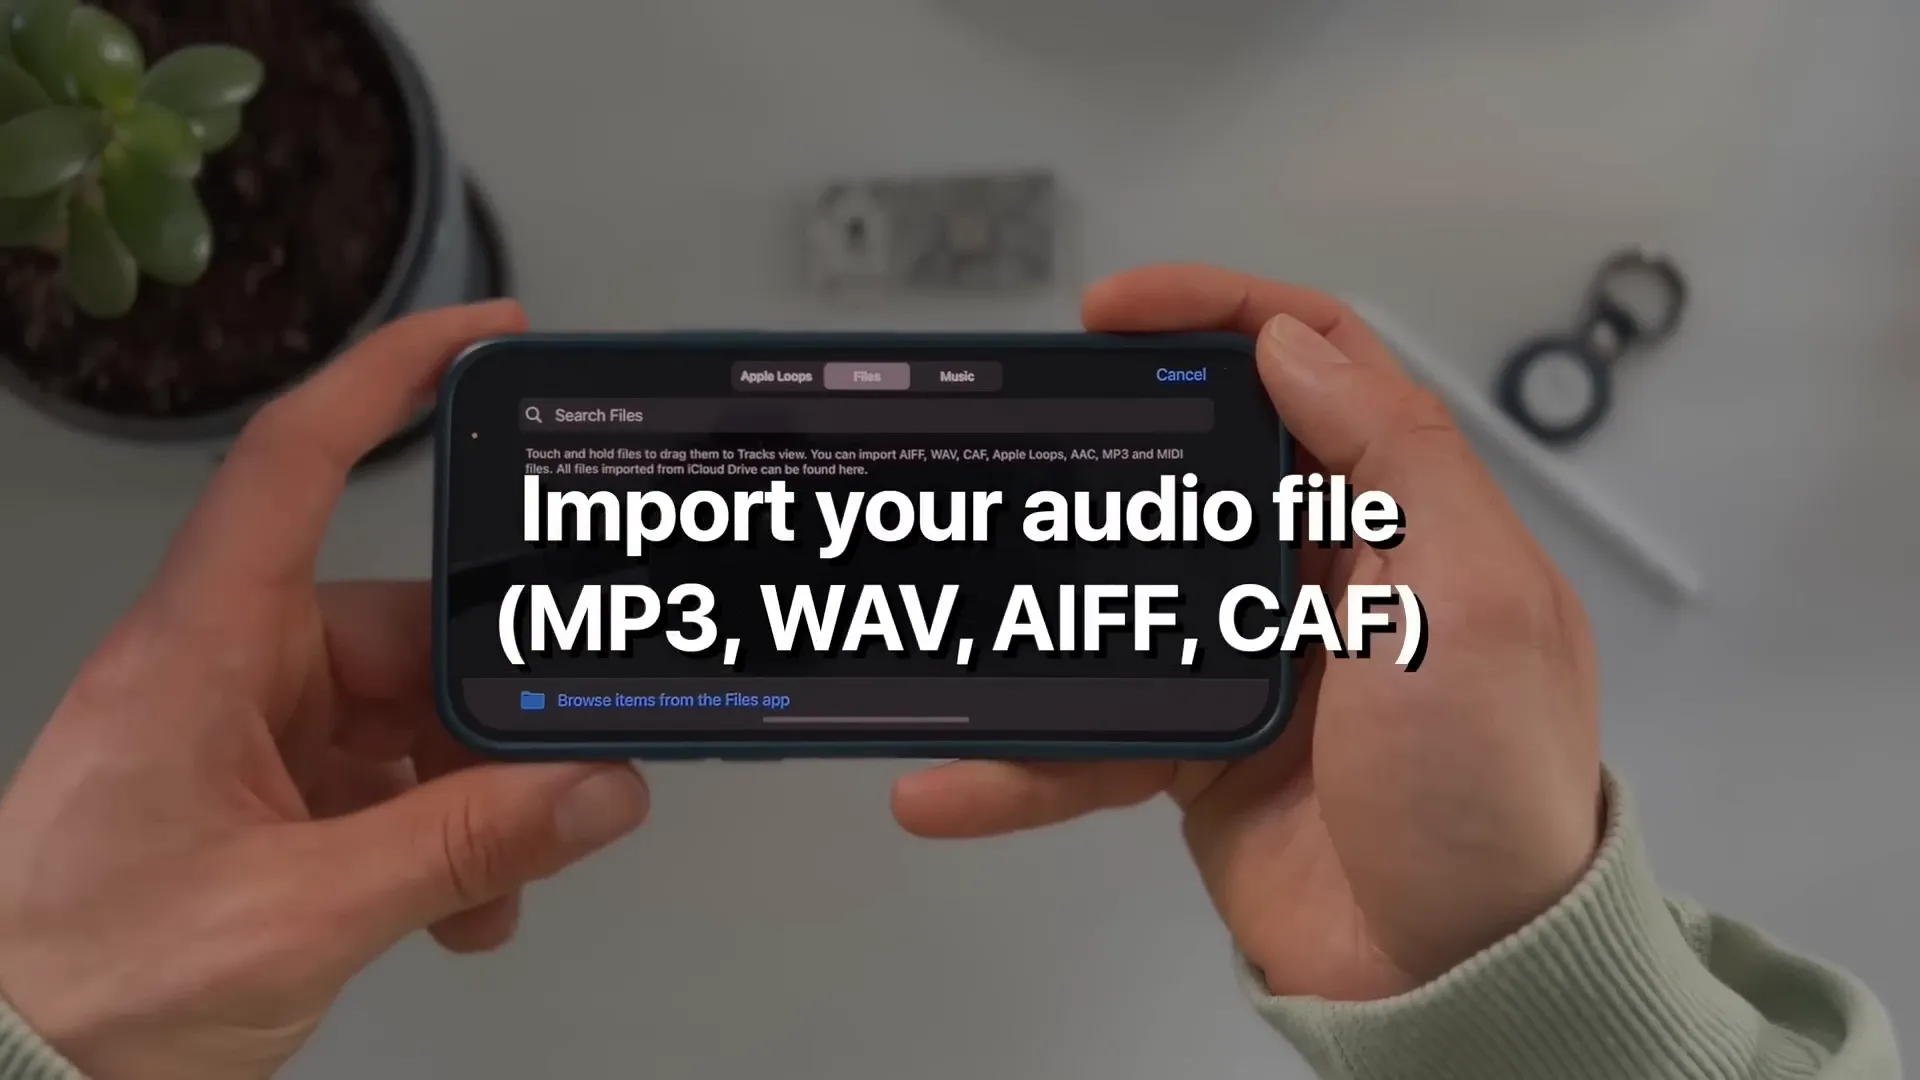
- An audio file of your song (like an MP3, WAV, AIFF, or CAF file) saved directly into your iPhone's native Files app.
Step 1: Set up a new audio recording
Open the GarageBand app. If this is your first time opening it, tap Continue and OK to skip past the introduction screens.
- Swipe all the way to the right until you see the Audio Recorder screen, then tap it.
- Tap the small metronome icon at the top of the screen to turn it off. You definitely don't want a ticking metronome sound baked into your final ringtone.
- Tap the Track icon in the top left corner. It looks like a few horizontal lines stacked together. This opens your main timeline view.
Step 2: Adjust your track length
By default, GarageBand gives you 8 bars of track space. That is a bit too short for a standard ringtone. Let's extend it.
- Tap the small + icon in the top right corner of your timeline screen.
- Tap on Section A.
- Change the Manual setting from 8 up to 30. This gives you 30 bars to work with.
- Tap Done.
Step 3: Import your song
Now it's time to bring your audio file into the timeline.
- Tap the Loop icon in the top right corner. It looks like a small roller coaster loop.
- Tap the Files tab at the top of the menu.
- Tap Browse items from the Files app and locate your saved audio file.
- Once your song loads into the GarageBand list, long-press the file and drag it directly onto your timeline.
Step 4: Trim and export your ringtone
You probably don't want the quiet intro of your chosen song. You want to jump straight to the best part.
- Drag the edges of your audio clip to trim the song down. Slide it left or right to select the exact part you want to hear when your phone rings. Use the play button at the top to preview your cut.
- Once you are happy with the edit, tap the downward-pointing arrow icon in the very top left corner and select My Songs. This saves your project to your recent files.
- Long-press the project you just saved.
- Scroll down the menu and tap Share.
- Choose the Ringtone option in the middle of the screen.
- Rename your file so you can easily identify it later, then tap Export in the top right corner.
Step 5: Set your new ringtone
When the export finishes, GarageBand will show a success popup. You can tap Use sound as... to apply it right then and there.
Alternatively, you can set it manually at any time through your iOS settings.
- Open your iPhone's Settings app.
- Go to Sounds & Haptics.
- Tap on Ringtone.
Your custom song will now be sitting right at the top of the list under your default ringtones. Tap it to make it your active ringtone.
You're all set
That's a wrap. Your custom ringtone is ready to go. Once you get the hang of GarageBand, you can repeat this exact process to create text tones, build custom alarms, or assign specific songs to specific contacts in your address book.
Last updated: Jun 20, 2026