
How to build the ultimate anti-theft automation for your iPhone
Losing your iPhone, or having it snatched out of your hands, is a nightmare. But you can set up a hidden automation that instantly turns your missing device into a tracking beacon.
When triggered, this shortcut silently snaps photos of the thief, grabs your exact location, locks the screen, and texts all that data to a trusted contact. This can be an absolute lifesaver. Let's walk through exactly how to set this up.
Step 1: Set up the secret message trigger
First, we need a way to trigger the automation remotely. We will use a specific text message to kick off the entire process.
- Open the Shortcuts app on your iPhone and tap the Automation tab at the bottom.
- Click the + icon in the top right to create a new automation.
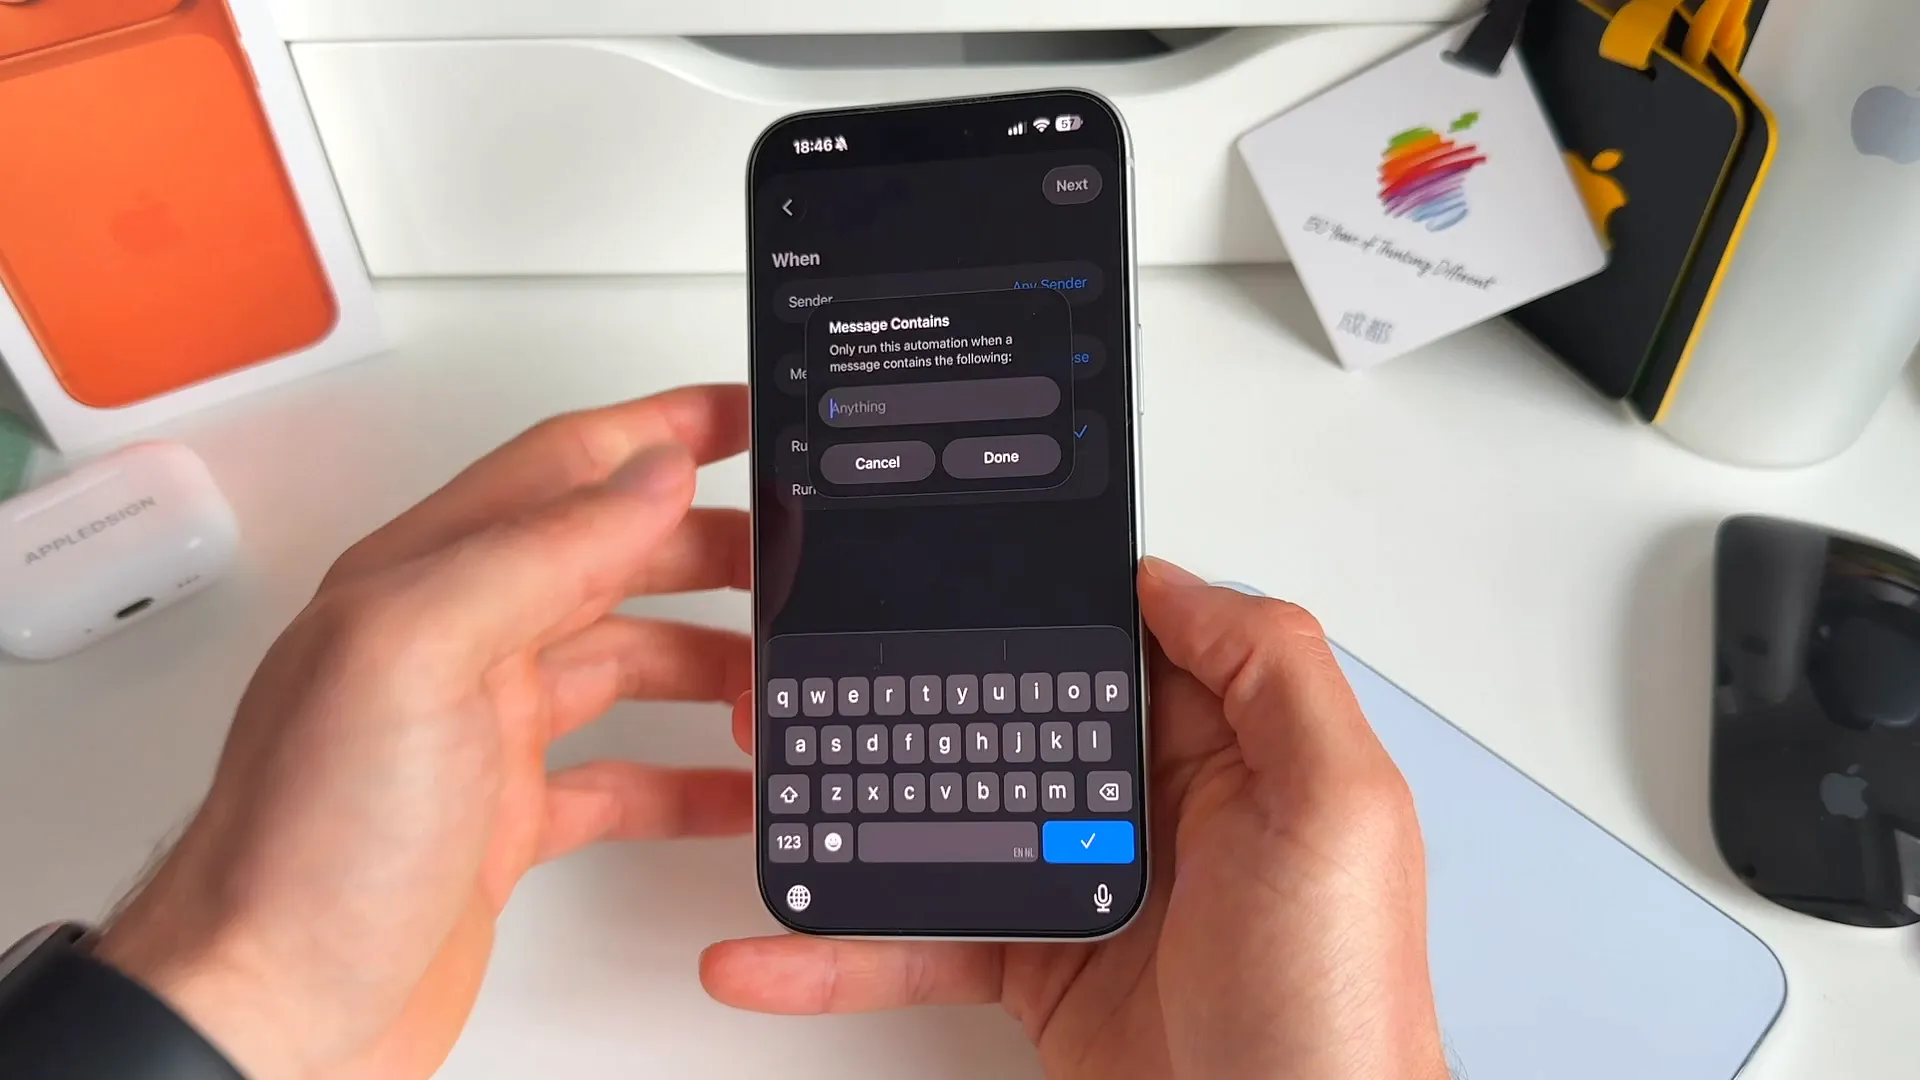
- Scroll down and select Message.
- Leave the Sender set to Any Sender.
- Tap Message Contains and enter a secret phrase. Make it an emergency protocol message you wouldn't use in everyday conversation. For example: !lostiphone. Tap Done.
- Select Run Immediately. You don't want the phone asking for confirmation before running this.
- Tap Next, then select New Blank Shortcut.
Step 2: Grab your exact location
Now we add the actions that will run when that secret message is received. The first piece of evidence we need is the phone's physical location.
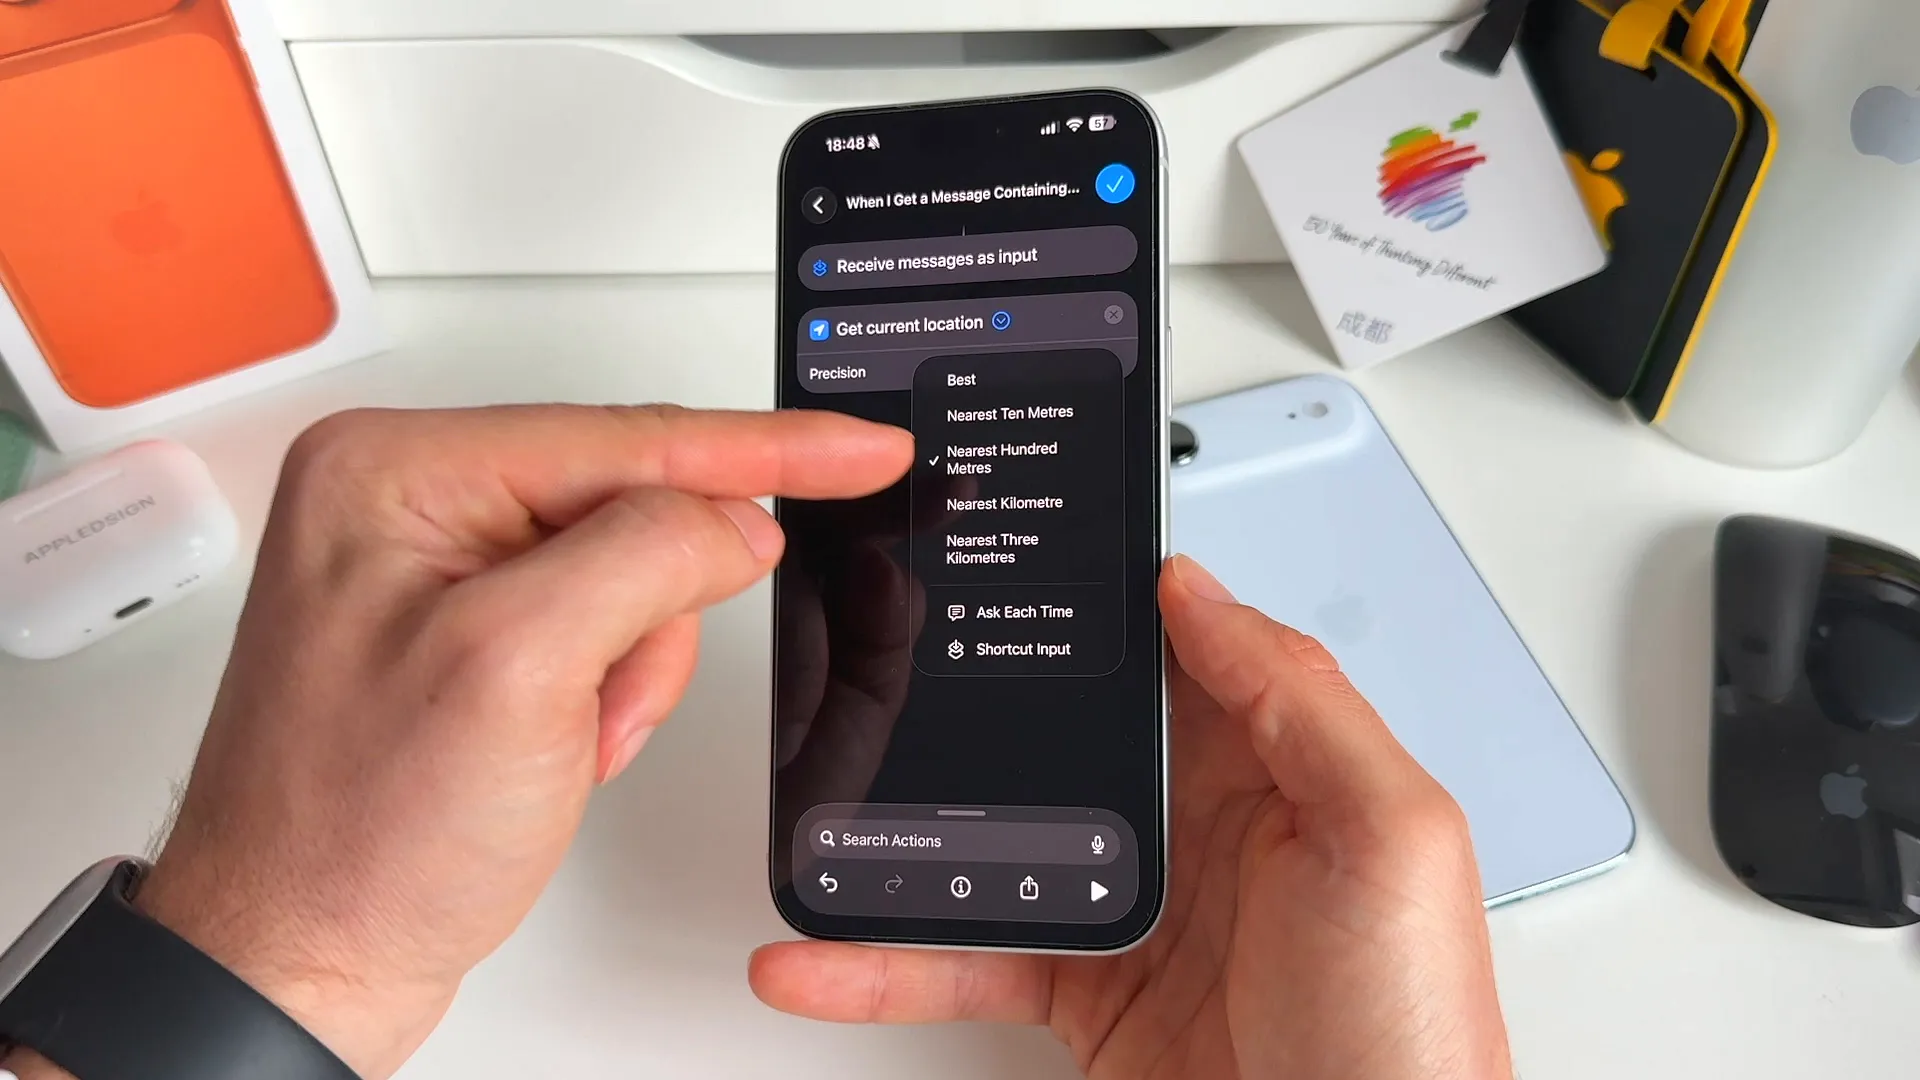
- Tap the bottom search bar and search for Location.
- Select Get Current Location from the list.
- Tap the small arrow inside the action block to expand its settings.
- Change the Precision to Best.
Step 3: Silently take photos of the thief
Next, we want to see who has your phone and where they are. We can trigger the cameras to fire without the person noticing.
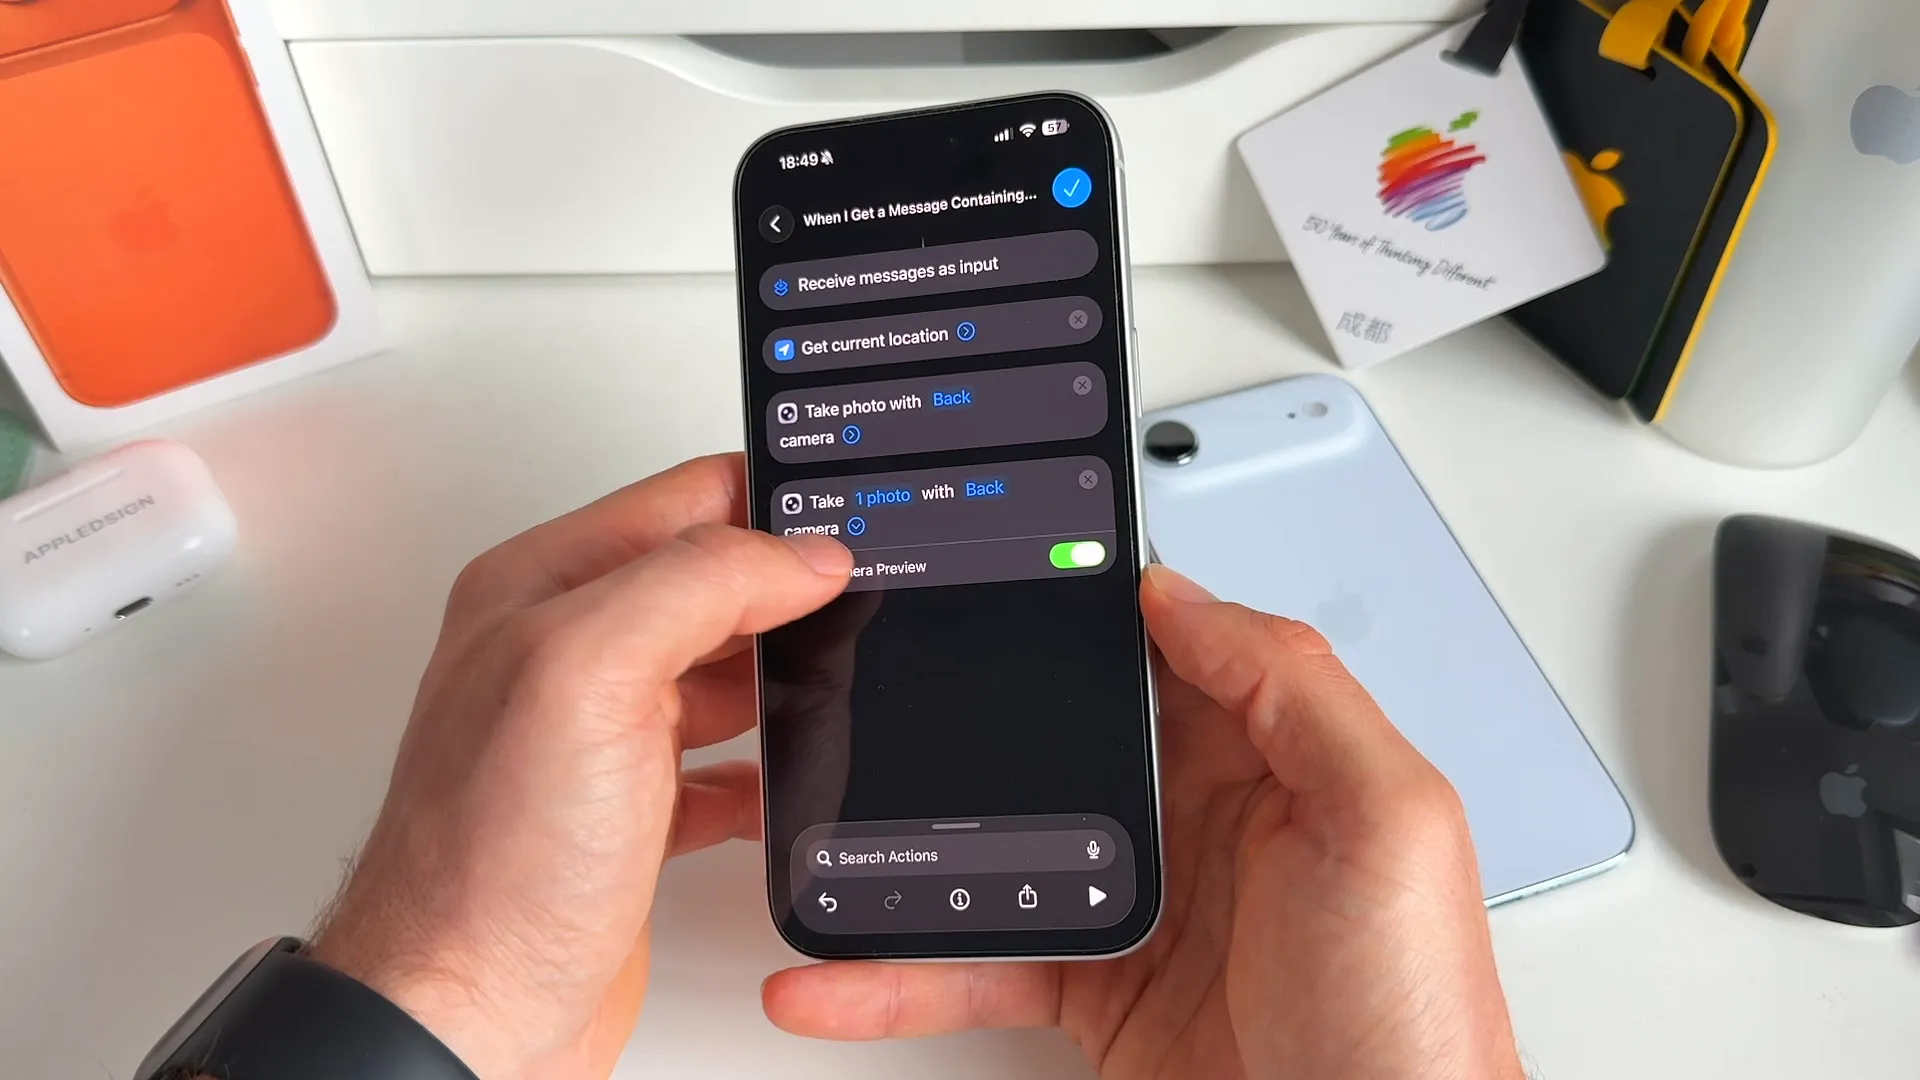
- Search for Take Photo and add it to your shortcut.
- By default, it takes one photo with the Back camera. That is exactly what we want.
- Tap the small arrow in the action block and toggle off Show Camera Preview. This ensures the screen doesn't show a camera viewfinder while taking the picture.
- Add a second Take Photo action.
- Tap the word Back and change it to Front so you capture the person looking at the screen.
- Again, tap the arrow and toggle off Show Camera Preview.
Step 4: Lock down the screen
If someone grabbed your phone while it was unlocked, you need to lock them out immediately. Without Face ID or your passcode, they won't be able to access your data or stop the automation.
- Search for Lock Screen in the bottom bar.
- Add it to your list of actions.
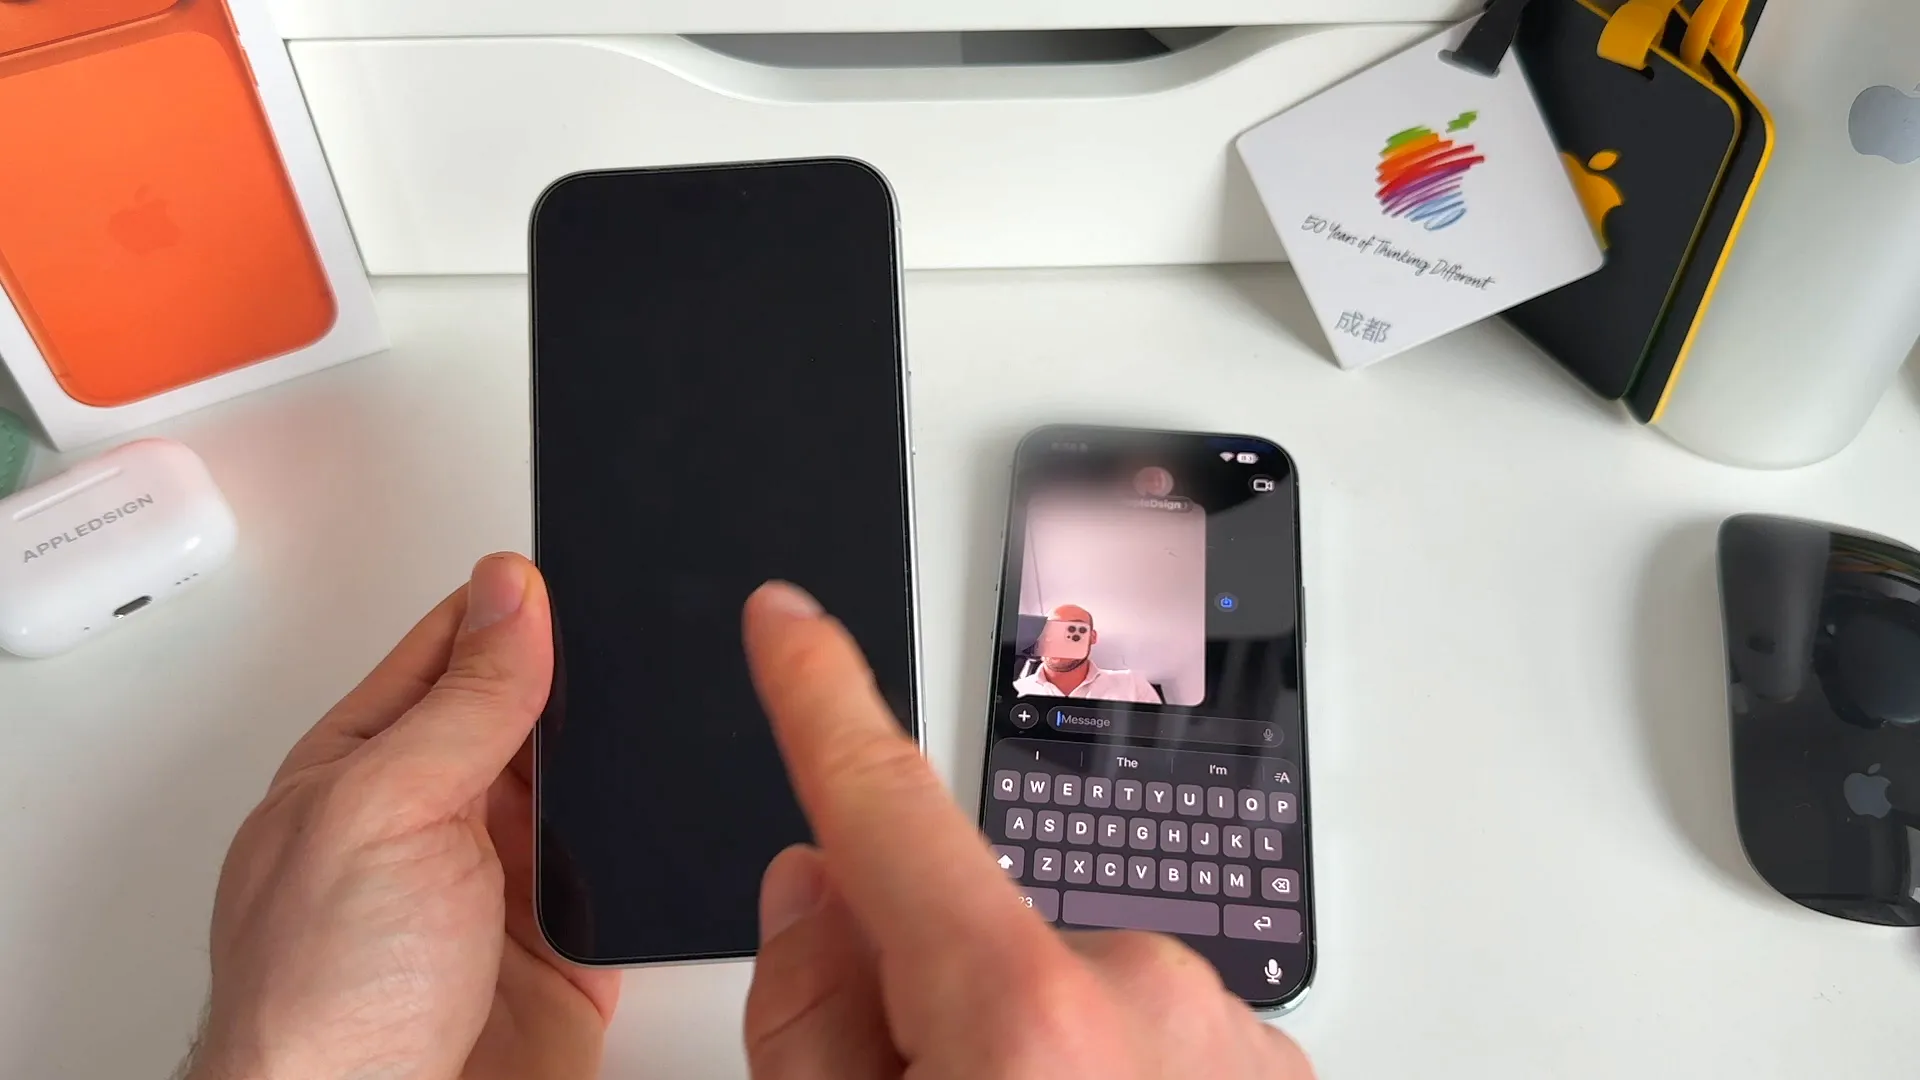
Step 5: Text the evidence to a trusted contact
Finally, you need all of this gathered data sent off the device so you can actually see it.
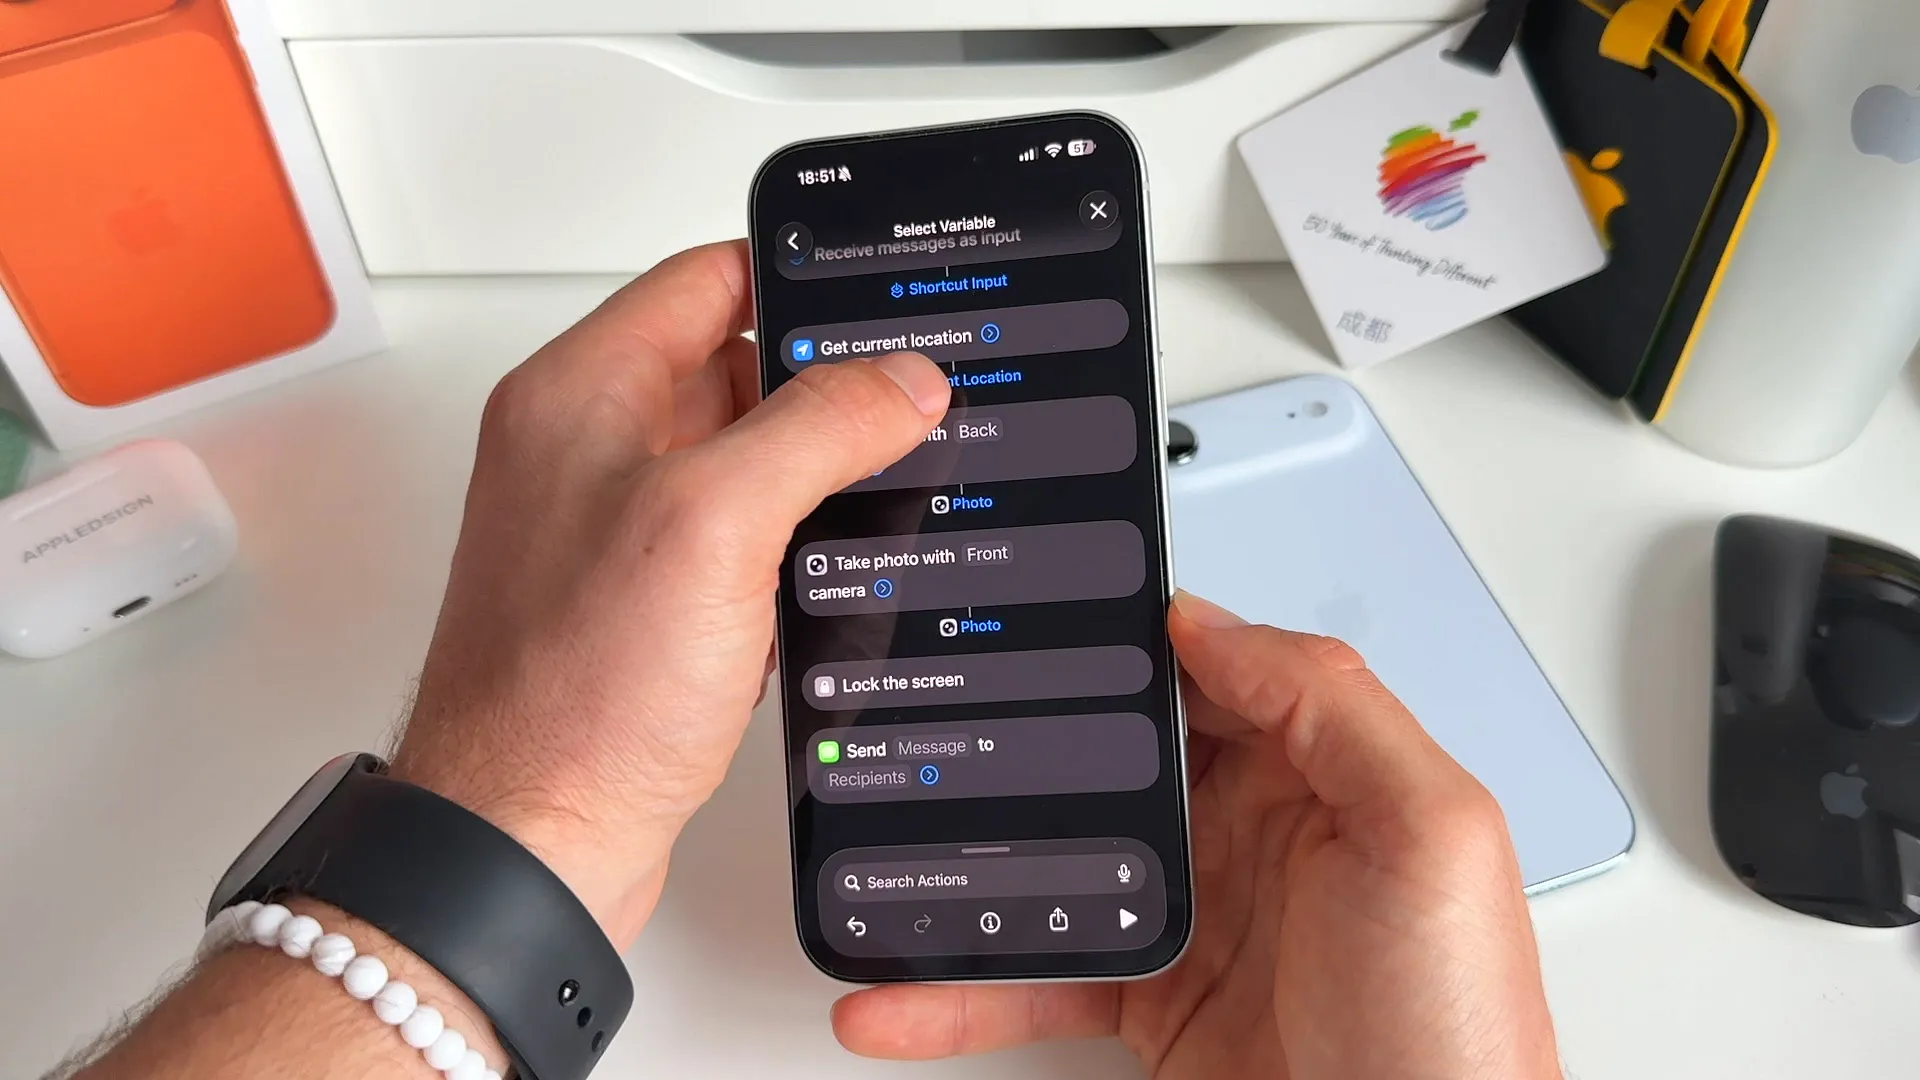
- Search for Send Message and add it to your shortcut.
- Tap the Message text field.
- Above your keyboard, swipe through the suggestions and tap Select Variable.
- Tap the Current Location variable generated in step two.
- Repeat this process to add both of the Photo variables from your camera actions.
- Tap Recipients and choose a trusted contact. This could be a partner, sibling, or best friend.
Testing it out in the wild
Once everything is saved, your trap is set.
If your phone gets stolen, all you need to do is borrow a friend's phone and text !lostiphone to your number. The shortcut kicks into gear in the background. The screen turns off immediately, locking the device.
Meanwhile, your trusted contact receives an iMessage containing your phone's exact map coordinates, a photo from the front camera, and a photo from the back camera.
You're all set
Take five minutes to set this up today. You will hopefully never need to use it, but having this automation ready gives you massive peace of mind. Share this setup with your friends and family so their devices stay secure, too.
Last updated: Jun 21, 2026