
How to apply a Spigen screen protector on iPhone 16 Pro
So you just got the new iPhone 16 Pro. The Titanium finish looks great, the cameras are massive, and the screen is beautiful. The absolute first thing you should do? Protect that display. Scratches happen when you least expect them, and a good screen protector is a lot cheaper than a screen replacement.
We're using the Spigen GLAS.tR EZ Fit for this. If you've ever struggled with aligning a screen protector manually or dealing with trapped dust, this kit changes the game. It uses an auto-alignment tray that makes it almost impossible to mess up.
The whole process takes about two minutes. Let's walk through it step-by-step to get that factory-perfect install.
Clean and prep
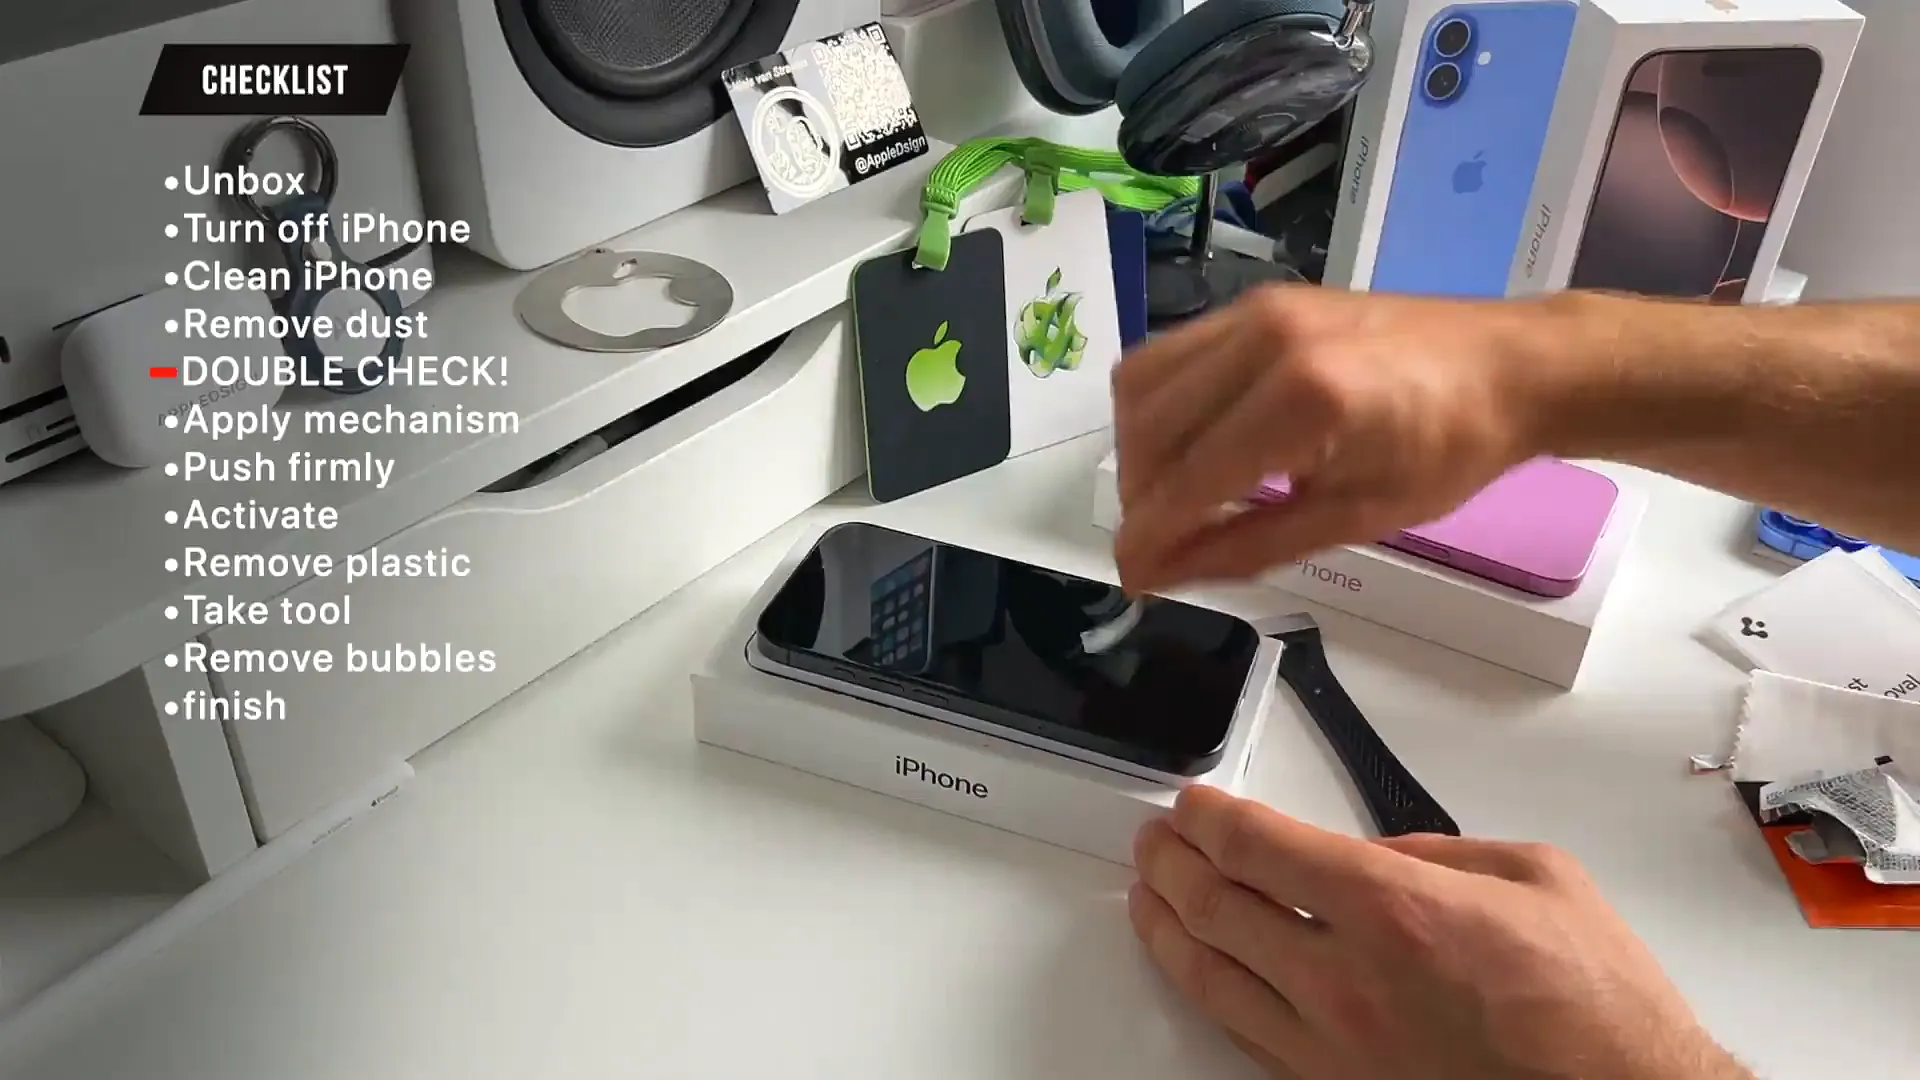
The secret to a bubble-free install is a perfectly clean screen. Even a tiny speck of dust can create a bubble later, so take your time here. The kit comes with wipes, a cloth, and dust stickers.
Getting the surface ready
- Turn off your iPhone screen. It's much easier to spot dust and smudges on a black screen
- Use the included wet wipe to thoroughly clean the entire display, focusing on the edges
- Dry it off with the microfiber cloth until it's streak-free
- Take the dust removal sticker and dab it all over the screen to pick up any remaining particles
Pro tip: Do this in a well-lit room with no draft or fan running. Moving air blows dust around, which is your enemy here.
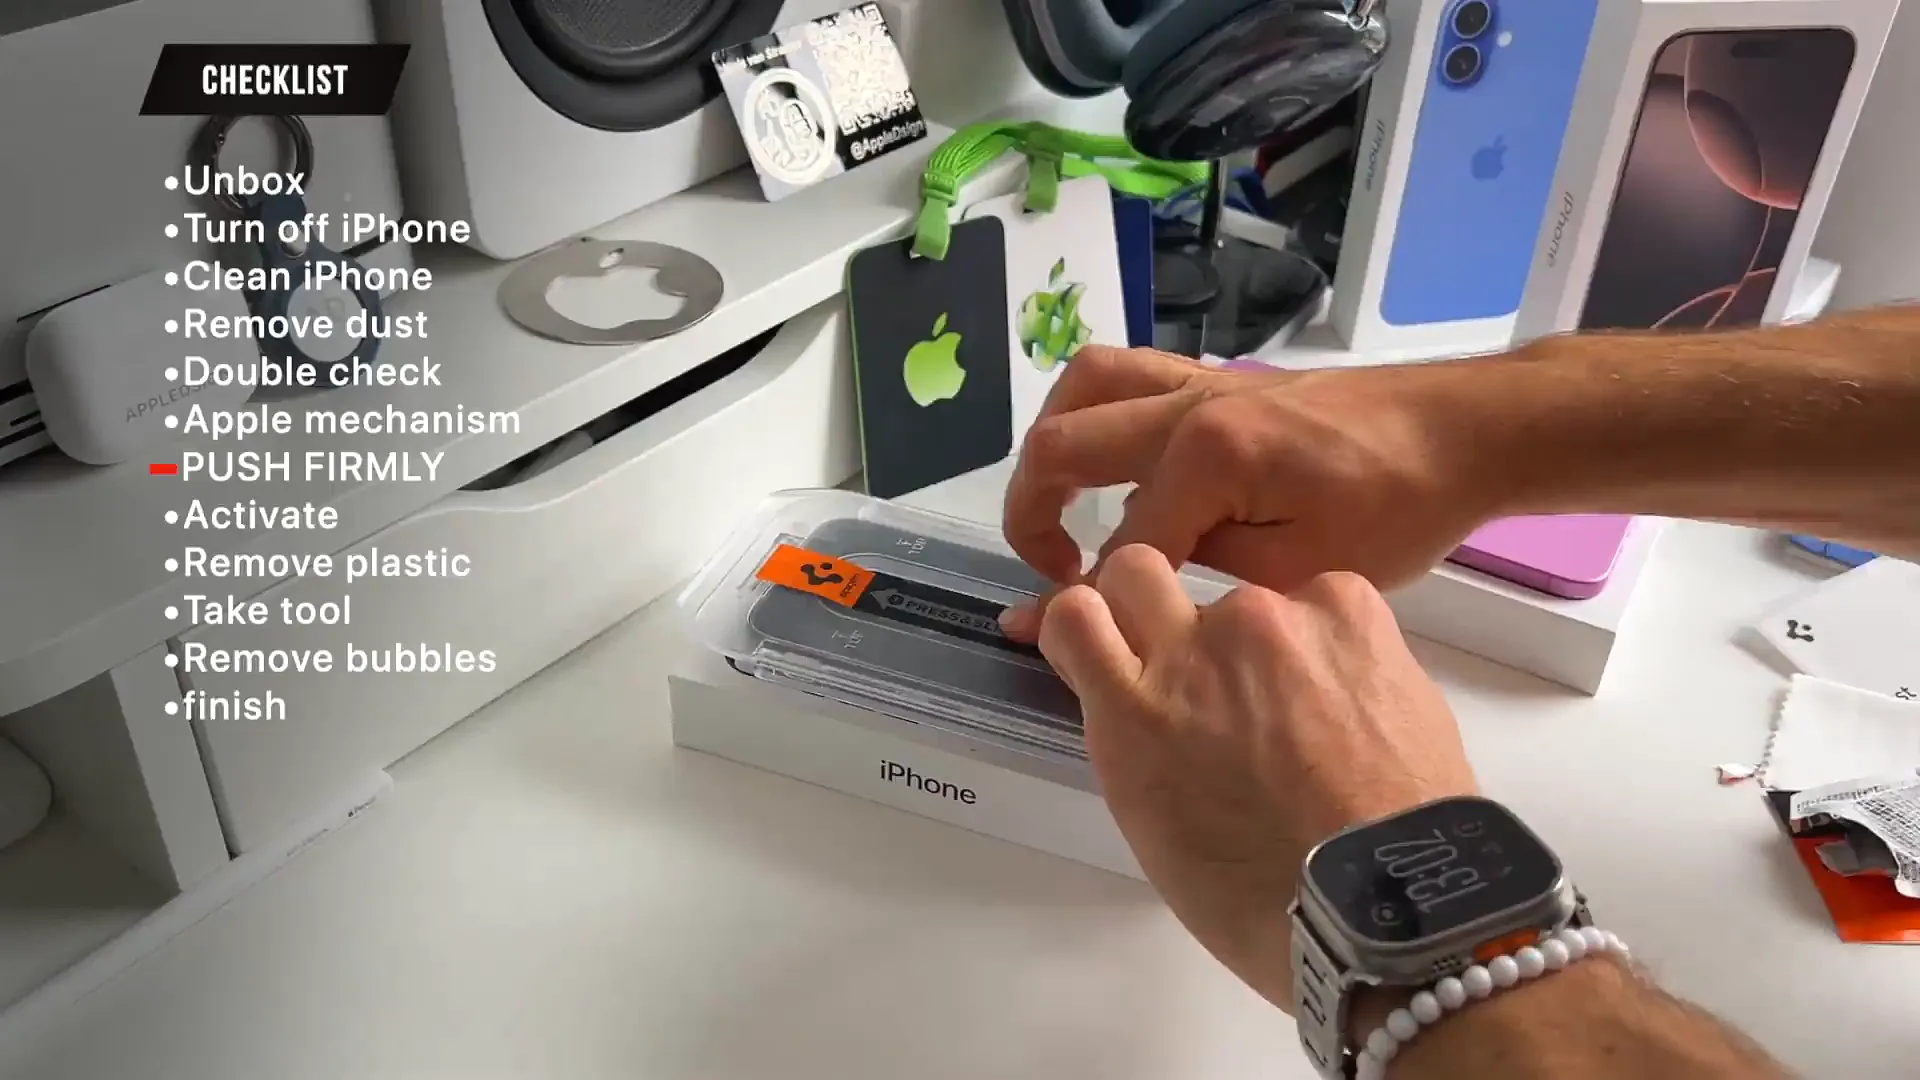
The alignment tray method
This is where Spigen shines. Instead of eyeballing the glass, it comes pre-installed in a plastic tray that fits perfectly over the iPhone 16 Pro. It aligns the glass for you instantly.
Applying the glass
- Peel the protective backing off the tray. It's usually labeled "Back"
- Place the tray directly over your phone. It should snap into place around the edges
- Press and slide your finger along the sticker in the center. This activates the adhesive and helps it spread
- Wait a few seconds for the adhesive to settle
The finishing touches
Once the adhesive has done its work, it's time to reveal the result. You might see a bubble or two, but don't worry—that's normal and easy to fix.
- Peel off the sticker holding the tray in place
- Lift the plastic tray away from the phone
- Remove the final protective film from the front of the glass
- Use the included squeegee tool (or a credit card wrapped in cloth) to push any remaining air bubbles toward the edges

All set
That's it. You now have edge-to-edge protection that feels just like the original glass. The alignment should be perfect around the Dynamic Island and the bezels. Now you can throw on a case and head out without worrying about scratching that brand new screen.
Last updated: Jun 20, 2026